Astrophotography Gear Checklist for Beginners: Essential Setup
Category: Astrophotography
Start Your Astrophotography Journey with Confidence
Embarking on astrophotography as a beginner is thrilling yet can feel overwhelming without the right equipment guidance. You’ve probably searched for "astrophotography gear checklist for beginners" because you want to avoid costly mistakes and ensure that your initial setup truly captures the magic of the night sky — whether the swirling glow of nebulae, the twinkling of distant stars, or the serene beauty of planets. You might already have a telescope or camera but are unsure what accessories and tools you need to produce breathtaking images or how to balance budget and quality efficiently. This guide is tailored to astronomy enthusiasts and aspiring astrophotographers like you who desire a clear, detailed, and practical list of gear. Here, we cut through the jargon and overwhelm by breaking down essential equipment — from cameras suited for astrophotography to mounts, filters, and software — so you can build your kit step-by-step. By the end, you’ll feel confident choosing gear that fits your skill level and goals, bridging the gap between curiosity and stunning celestial photography. Keep reading to discover everything necessary to begin capturing the wonders of space, and turn your passion into crisp, awe-inspiring images.
- Start Your Astrophotography Journey with Confidence
- Understanding the Basics: Why Proper Gear Matters in Astrophotography
- Cameras for Beginners: Choosing the Right Type for Astrophotography
- Essential Optical Equipment: Telescopes and Lenses
- Mounts and Tripods: Stability for Clear, Sharp Images
- Tracking and Autoguiding: How to Capture Long Exposure Shots
- Filters and Accessories to Enhance Your Astrophotography
- Software Tools: From Image Capture to Post-Processing
- Budgeting and Building Your First Astrophotography Kit
Understanding the Basics: Why Proper Gear Matters in Astrophotography
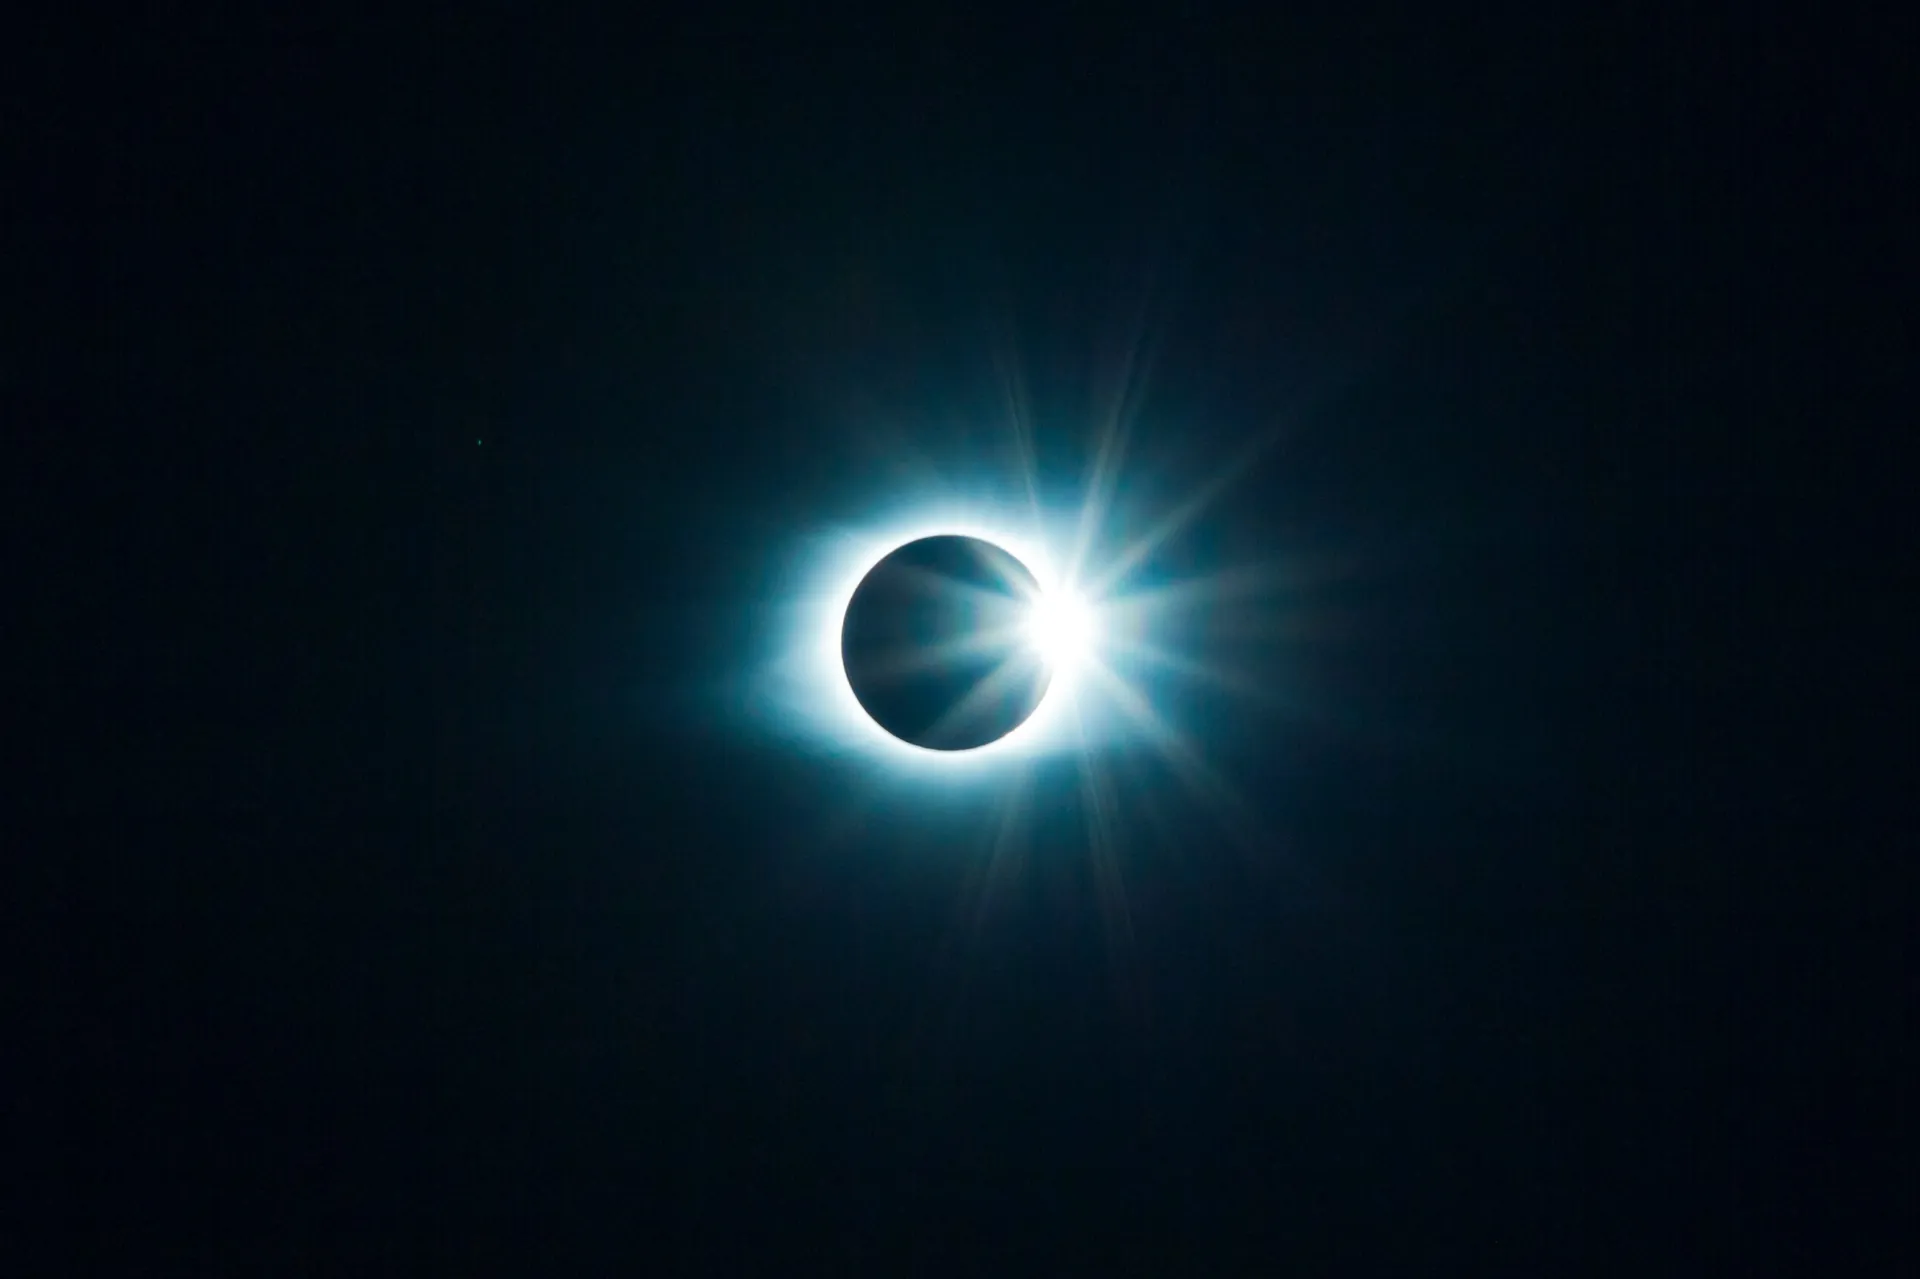
Astrophotography is a unique blend of art and science, requiring specialized equipment that differs significantly from typical photography gear. Unlike casual night sky snaps, capturing detailed images of stars, planets, and deep-sky objects demands tools designed to handle extremely low light conditions, long exposure times, and precise tracking of celestial movement. Using the right gear not only improves image quality dramatically—resulting in sharper, clearer, and more vibrant photos—but it also influences your learning curve and overall experience as a beginner.
Proper astrophotography equipment ensures you can overcome common challenges such as star trailing, noise, and poor focus, which can frustrate novices and hinder progress. For example, reliable equatorial mounts with motorized tracking keep your camera or telescope aligned with the Earth’s rotation, enabling long exposures without blurring. Similarly, selecting cameras with high sensitivity and specialized astrophotography lenses or telescopes enhances your ability to capture faint nebulae and distant galaxies. Investing in appropriate accessories also means you’ll spend less time troubleshooting technical issues and more time honing your skills, making the journey from beginner to confident astrophotographer smoother and more rewarding. Understanding why gear matters sets the foundation for building your perfect astrophotography setup, so you can consistently capture the breathtaking wonders of the night sky.
Image courtesy of Rohit Narayanan
Cameras for Beginners: Choosing the Right Type for Astrophotography
Selecting the right camera is a pivotal step in your astrophotography journey, as it directly influences the quality and ease of capturing stunning celestial images. For beginners, the choice often boils down to DSLR cameras, mirrorless cameras, or dedicated astronomy cameras, each with distinct advantages and drawbacks depending on your budget, technical comfort, and specific astrophotography goals.
DSLR vs Mirrorless vs Dedicated Astronomy Cameras
- DSLR Cameras:
- Widely recommended for beginners due to their versatility, affordability, and abundance of compatible lenses.
- Feature large sensors and robust manual controls, making them excellent for capturing stars, the Milky Way, and planetary details.
- Typically offer excellent ISO performance, which is crucial for low-light conditions.
-
Drawbacks include heavier bodies and sometimes shorter battery life compared to mirrorless models.
-
Mirrorless Cameras:
- Increasingly popular in astrophotography for their compact size, lighter weight, and superior live-view focusing capabilities.
- Often provide better video features and faster shooting speeds.
- Mirrorless models can rival DSLRs in sensor size and ISO range, though their battery life can be a limiting factor during long nights.
-
Ideal for beginners who prioritize portability and plan to upgrade lenses over time.
-
Dedicated Astronomy Cameras:
- Designed specifically for deep-sky imaging, these cameras often use cooled CCD or CMOS sensors to dramatically reduce noise during long exposures.
- They usually require more technical knowledge and investment but deliver superior sensitivity and image quality for nebulae, galaxies, and faint objects.
- Not typically recommended for absolute beginners due to complexity but worth considering as you advance.
Key Camera Features to Consider
When choosing a camera for astrophotography, pay attention to these essential features:
- Sensor Size: Larger sensors (full-frame or APS-C) capture more light and detail, improving image quality in dark skies. A bigger sensor also allows wider fields of view and better performance in high-ISO settings.
- ISO Performance: High ISO capability with low noise is crucial since astrophotography often requires boosting ISO to capture faint celestial bodies without excessively long exposures.
- Manual Controls: Full manual mode is a must-have for adjusting shutter speed, aperture, and focus precisely. Look for cameras with reliable live-view focusing and customizable settings for long exposures.
- RAW File Support: Shooting in RAW format preserves maximum image data for post-processing, helping you enhance details and reduce noise effectively.
- Lens Compatibility: Availability of wide-angle and astrophotography-friendly lenses (fast apertures like f/2.8 or wider) will expand your shooting options and improve star capture.
By carefully weighing these camera types and features, beginner astrophotographers can make informed decisions, ensuring their first images of the night sky are both beautiful and technically impressive. Next, we’ll explore how to optimize your telescope and mount choices to complement your camera setup seamlessly.
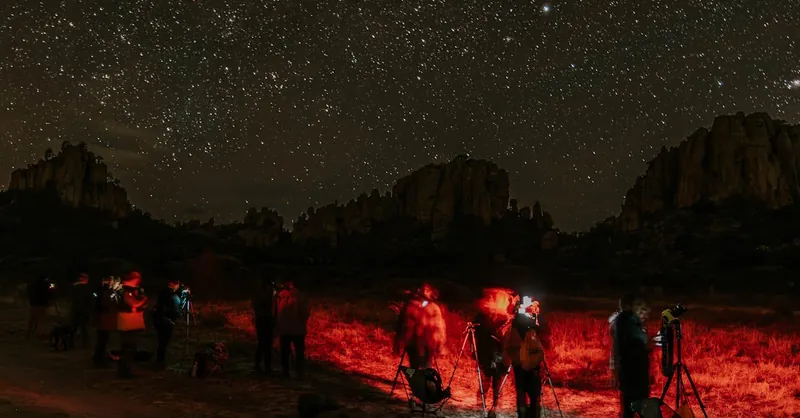
Image courtesy of Amar Preciado
Essential Optical Equipment: Telescopes and Lenses
Choosing the right telescope and lenses is crucial for beginners aiming to capture detailed and vibrant astrophotography images. Different types of telescopes cater to various celestial targets, so understanding their advantages and limitations will help you select the best gear for your astrophotography goals. Additionally, pairing your telescope with the appropriate eyepieces or camera lenses can dramatically enhance your ability to photograph planets, stars, and deep-sky objects like nebulae and galaxies.
Types of Telescopes Best Suited for Beginners
- Refractor Telescopes:
- Highly recommended for beginners due to their simple, durable design and excellent image contrast.
- They use lenses to gather light and produce sharp, high-contrast images, ideal for planetary and lunar photography.
- Often lightweight and portable, making them convenient for beginners who want easy setup and mobility.
-
Apochromatic (APO) refractors reduce chromatic aberration significantly, resulting in crisper astrophotos with minimal color fringing.
-
Reflector Telescopes:
- Use mirrors instead of lenses to collect light, offering larger apertures at a lower cost compared to refractors.
- Great for deep-sky astrophotography, including faint galaxies and nebulae, because their wider apertures capture more light.
-
Require occasional collimation (alignment of mirrors) and can be bulkier, which might present a learning curve for new users.
-
Compound (Catadioptric) Telescopes:
- Combine lenses and mirrors to create compact, versatile scopes with moderate to large apertures.
- Ideal for beginners who want a balance between portability and powerful focal lengths suitable for planets and deep-sky objects.
- Popular models include Schmidt-Cassegrain and Maksutov-Cassegrain telescopes, known for their long focal lengths and sharp images.
Choosing the Right Lens or Eyepiece for Deep Sky or Planetary Imaging
Selecting the correct eyepiece or camera lens depends on the target you wish to photograph:
-
Wide-Angle Lenses: Essential for capturing expansive views of the Milky Way, star clusters, and large nebulae. Fast prime lenses with apertures like f/2.8 or wider are preferred to allow more light and shorter exposure times. Full-frame cameras paired with wide-angle lenses maximize field of view and detail.
-
Short Focal Length Eyepieces (Low Magnification): Best suited for large, faint deep-sky objects. They provide wider fields of view that encompass full nebulae or galaxies. Combining these with telescopes that have fast focal ratios (f/5 or below) helps gather more light in shorter exposures.
-
Long Focal Length Eyepieces (High Magnification): Ideal for planetary imaging where detail and resolution are key. Higher magnification helps reveal surface features of planets like Jupiter’s bands or Saturn’s rings. When paired with high-quality telescopes, these eyepieces enable stunning close-ups.
-
Barlow Lenses: Used to effectively multiply the focal length of your telescope, increasing magnification without the need for multiple eyepieces. A 2x or 3x Barlow lens can be invaluable for switching between wide-field and detailed views quickly.
By carefully choosing the right telescope type and pairing it with the proper lenses and eyepieces, beginners can vastly improve their astrophotography results. Whether you’re aiming to capture the broad expanse of the night sky or intricate planetary details, the combination of quality optics tailored to your interests ensures every shot reveals the true beauty of the cosmos.

Image courtesy of Lucas Pezeta
Mounts and Tripods: Stability for Clear, Sharp Images
When it comes to astrophotography, stability is paramount. Even the best camera and telescope can produce blurry, distorted images if your setup isn’t firmly supported and accurately aligned. This is why selecting the right mount and tripod is a foundational step for beginners eager to capture clear, sharp images of celestial objects.
Equatorial vs Alt-Azimuth Mounts: What Beginners Need to Know
- Equatorial Mounts:
- Designed to track the motion of stars by aligning one axis (the right ascension axis) parallel to Earth’s rotational axis.
- This precision tracking allows for long exposure astrophotography without star trailing, essential for deep-sky imaging of faint nebulae and galaxies.
- Typically motorized or computerized (GoTo mounts), these mounts automate tracking and object locating, making them popular among serious beginners aiming to improve image quality.
-
However, equatorial mounts require initial polar alignment, which adds a learning curve but pays off with superior tracking accuracy.
-
Alt-Azimuth Mounts:
- Simpler to set up and use, these mounts move in two axes: altitude (up and down) and azimuth (left to right).
- While excellent for terrestrial and casual astrophotography, they do not intrinsically compensate for Earth’s rotation, causing star trails during long exposures.
- Recently, some motorized alt-azimuth mounts offer tracking features with software correction, but for deep-sky astrophotography, equatorial mounts remain superior.
- Beginners focusing on short-exposure lunar or planetary imaging may find alt-azimuth mounts more accessible and cost-effective.
Tripod Importance and Tips on Selecting a Sturdy Mount
- Select a tripod made from durable materials such as aluminum or carbon fiber to reduce vibrations that can blur images during long exposures.
- The tripod must be heavy and stable enough to support your telescope and camera’s combined weight without flexing or shaking in breeze.
- Height adjustability and portability are also key; a tripod that comfortably adjusts to your shooting position improves ease of use during extended sessions.
- When possible, choose tripods with tripod spreaders or weight hooks to add stability by hanging a weight underneath during windy conditions.
- Investing in a balanced mount-tripoid combo pays dividends by reducing image blur and increasing the duration of usable exposure times.
By pairing your telescope and camera with the right mount—preferably a motorized equatorial and a robust tripod—you ensure smooth tracking and minimal vibration, two critical factors for producing high-quality astrophotography images. Understanding these basics not only optimizes your current gear but also sets a practical foundation for future upgrades and more advanced techniques.

Image courtesy of Rohit Narayanan
Tracking and Autoguiding: How to Capture Long Exposure Shots
Long exposure astrophotography opens up the incredible possibility of capturing faint stars, distant nebulae, and subtle galactic details that are invisible to the naked eye. However, achieving pinpoint sharpness during these extended exposures requires a precision tracking system that compensates for Earth’s rotation. Without proper star tracking, even the slightest movement will cause star trails and blur, ruining hours of careful setup and imaging.
The Basics of Star Tracking for Precise Long Exposures
Star tracking is accomplished with mounts designed to follow the apparent motion of celestial objects across the sky. The most effective solution for beginners is a motorized equatorial mount, which aligns its rotational axis with the North or South Celestial Pole. This alignment lets the mount rotate precisely in sync with Earth’s rotation, keeping stars fixed in the camera’s field of view during long exposures. Key benefits of proper star tracking include:
- Sharp, trailing-free images even with exposures lasting several minutes.
- The ability to capture faint deep-sky objects that require collecting more light over time.
- Improved image stacking results by providing consistent frames to combine.
For those just starting, investing in a reliable equatorial mount with built-in tracking motors is one of the most impactful upgrades to enhance astrophotography success.
Introduction to Autoguiding Equipment for Beginners
While basic motorized mounts handle star tracking well, slight inaccuracies from mechanical imperfections or alignment errors can still cause star drifting during very long exposures. This is where autoguiding systems come into play, especially for deep-sky astrophotography enthusiasts wanting maximum precision.
Autoguiding uses a second, smaller telescope (guide scope) and a specialized camera (guide camera) to continuously monitor a bright guide star. The autoguider software then sends real-time corrections to the mount to perfectly counteract any tracking errors. For beginners exploring autoguiding, here are essential components:
- Guide Scope: A small, steady refractor telescope attached parallel to your main imaging setup.
- Guide Camera: A sensitive, low-latency camera that tracks the guide star’s position with high accuracy.
- Autoguiding Software: Popular beginner-friendly options include PHD2 Guiding, which integrates with most mounts to automate corrections.
- Mount Compatibility: Ensure your equatorial mount supports autoguiding input, usually via an ST-4 port or USB interface.
Though autoguiding requires some initial setup and calibration, the results are transformative, allowing exposure times of 10 minutes or more with minimal star elongation. This technology elevates your astrophotography from basic long exposures to professional-grade deep-sky imaging.
By mastering star tracking fundamentals and adding autoguiding when ready, beginners can confidently push their astrophotography capabilities further, capturing stunningly detailed images of the cosmos without the frustration of star trails or loss of sharpness.
Image courtesy of Alican Helik
Filters and Accessories to Enhance Your Astrophotography
To elevate your astrophotography beyond basic imaging, integrating filters and essential accessories is crucial. Filters play a transformative role by selectively isolating specific wavelengths of light, significantly improving contrast and detail, particularly in challenging conditions such as light-polluted skies. Among the most vital are narrowband filters, including H-alpha, OIII, and SII, each targeting particular emission lines emitted by nebulae and other deep-sky objects. Using these filters allows beginners to capture stunning, high-contrast images even from urban or suburban locations where light pollution otherwise washes out faint celestial features.
The Role of Narrowband Filters: When and Why to Use Them
- H-alpha (Hydrogen-alpha) Filters: These isolate the deep red emission line of hydrogen at 656.3 nm, one of the strongest signals emitted by many nebulae. Using an H-alpha filter dramatically enhances the visibility of emission nebulae like the Orion Nebula, even under heavy skyglow.
- OIII (Doubly Ionized Oxygen) Filters: Centered around 500.7 nm in the blue-green part of the spectrum, OIII filters reveal intricate details in planetary nebulae and supernova remnants by isolating oxygen emissions. These filters are essential for capturing the glowing filaments of objects like the Veil Nebula.
- SII (Singly Ionized Sulfur) Filters: Targeting 672.4 nm, SII filters complement H-alpha and OIII by highlighting sulfur emissions. Using all three narrowband filters enables creating breathtaking false-color images through the Hubble Palette method, showcasing nebulae in vivid, scientifically meaningful detail.
Narrowband filters are especially beneficial for beginners who want to maximize the performance of their existing camera and telescope setups under less-than-ideal skies. They reduce the effects of light pollution and moonlight, enabling long exposures and greater contrast without needing expensive observatory-grade sites.
Other Helpful Accessories to Improve Your Astrophotography Experience
Besides filters, several practical accessories can make a significant difference in image quality and shooting convenience:
- Dew Heaters: Moisture condensation on optics can be a persistent problem during cool nights, blurring images and ruining sessions. Dew heaters gently warm telescope lenses or camera sensors, preventing dew formation and keeping your equipment clear throughout long exposures.
- Remote Shutter Releases: Minimizing camera shake is critical when photographing faint celestial objects. Using a remote shutter release or intervalometer lets you trigger exposures without physically touching your camera, resulting in sharper images and enabling automated sequences for capturing multiple frames.
- Power Supplies and Battery Packs: Long night sessions require reliable power, especially for motorized mounts, cameras, and dew heaters. Investing in robust, portable power solutions such as rechargeable lithium-ion battery packs or AC adapters ensures uninterrupted operation and flexibility when shooting in remote locations.
Together, these filters and accessories form an essential part of a beginner’s astrophotography kit, enhancing your ability to capture detailed, crisp images while streamlining your workflow and protecting your gear. Embracing these tools early on paves the way for consistent improvement and professional-level results in your night sky photography.
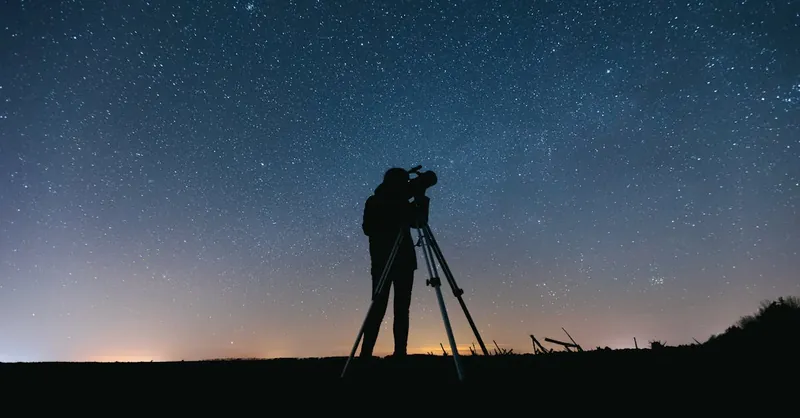
Image courtesy of Thirdman
Software Tools: From Image Capture to Post-Processing
Mastering astrophotography involves not just the right physical gear but also the essential software tools that enable you to capture, stack, and enhance your celestial images with precision. For beginners, choosing user-friendly yet powerful software can streamline the workflow and significantly improve the final image quality.
Recommended Beginner-Friendly Software for Capturing and Stacking Images
-
SharpCap: Ideal for live image capture and focusing, SharpCap offers a straightforward interface perfect for beginners using webcams, dedicated astronomy cameras, or DSLRs. It features built-in tools for polar alignment and real-time stacking previews, helping you optimize exposure times and gain settings.
-
DeepSkyStacker: A widely popular free tool for stacking multiple exposures, DeepSkyStacker enhances faint details by aligning and combining your astrophotos to reduce noise and increase signal strength. Its simplicity and efficiency make it a top choice for beginners starting with long-exposure deep-sky imaging.
-
Sequence Generator Pro: For those ready to automate their imaging sessions, this software manages camera control, mount interfacing, and image sequencing. It simplifies long unattended nights of capturing multiple targets and filter changes, although it comes with a learning curve suitable for advancing beginners.
Post-Processing Basics to Enhance Astrophotography Output
Raw images from the night sky often appear dim and noisy, requiring careful post-processing to reveal the true beauty of celestial objects. Beginners should focus on mastering these key post-processing techniques using software like Adobe Photoshop, PixInsight, or GIMP:
-
Image Calibration: Applying dark frames, flat frames, and bias frames to correct sensor noise, vignetting, and optical imperfections before stacking.
-
Histogram Stretching: Adjusting brightness and contrast levels to bring out faint star fields, nebulae, and galactic structures without overexposing the image.
-
Noise Reduction: Using selective smoothing to reduce graininess in background areas while preserving fine details in stars and nebulae.
-
Color Balance and Saturation: Enhancing natural or narrowband colors to emphasize the vibrant hues present in your astrophotography targets.
-
Sharpening and Star Reduction: Applying techniques to enhance edge detail and reduce oversized star appearances, resulting in crisp, professionally appealing images.
Investing time in learning these software tools and post-processing workflows is crucial for beginners to transform raw captures into stunning, high-quality astrophotography that rivals more experienced imagers. Together with your telescope, camera, and mount, the right software package completes your astrophotography gear checklist for a confident and rewarding night sky imaging experience.
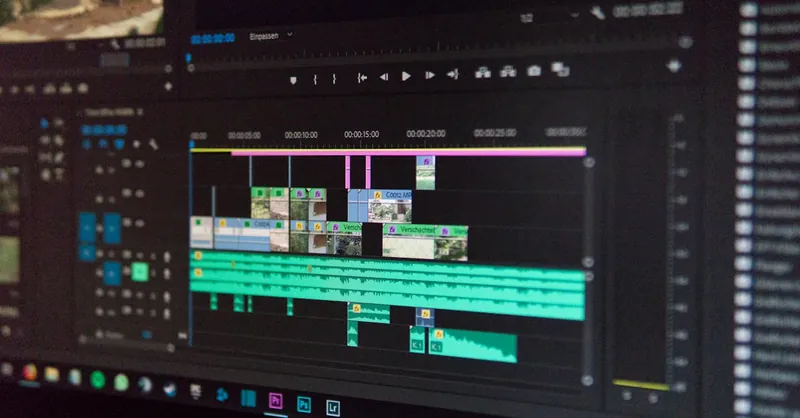
Image courtesy of Alex Fu
Budgeting and Building Your First Astrophotography Kit
Starting astrophotography as a beginner can be exciting, but it’s crucial to prioritize your equipment purchases based on your budget and imaging goals. Rather than investing heavily in all gear at once, focus first on the essentials that will deliver the most impact on image quality and learning progress. For example, a good equatorial mount with reliable tracking should take precedence over the most expensive camera body because accurate tracking is fundamental to sharp long exposures. Likewise, a versatile camera like a DSLR or mirrorless model paired with a quality wide-angle lens or a beginner-friendly telescope will offer the most flexibility for capturing various celestial objects.
Tips for Smart Budgeting and Gradual Upgrading
- Start with Core Components: Invest initially in a solid mount and a camera system with manual control and RAW capture capability. Add optical accessories and specialized gear, such as autoguiders or narrowband filters, once you have mastered basic astrophotography techniques.
- Buy Used or Entry-Level Gear: Many high-quality used mounts, telescopes, and cameras are available at significant discounts. Entry-level APO refractors and DSLR cameras with good low-light performance provide excellent value for beginners.
- Plan Your Kit Around Your Specific Interests: If planetary imaging excites you, invest early in a long focal length telescope and a planetary camera. For wide-field Milky Way shots, prioritize fast wide-angle lenses and a sturdy tripod.
- Upgrade Incrementally as Skills Grow: As your experience and astrophotography skills evolve, gradually upgrade components—such as switching to cooled dedicated astronomy cameras, adding autoguiders, or upgrading to a larger aperture telescope—to enhance capabilities without overwhelming your budget.
- Consider Software and Post-Processing Costs: Remember that software tools and post-processing workflows become essential parts of your astrophotography kit and may require separate investments over time.
By strategically building your astrophotography kit with a clear focus on essential gear first, you can balance performance with budget constraints—ensuring each purchase drives meaningful improvement. This approach helps you avoid common pitfalls such as spending heavily on advanced equipment too early, only to underutilize it. With patience and well-planned upgrades, your first astrophotography setup will grow alongside your passion and expertise, guiding you on a fulfilling journey to capture the wonders of the night sky.
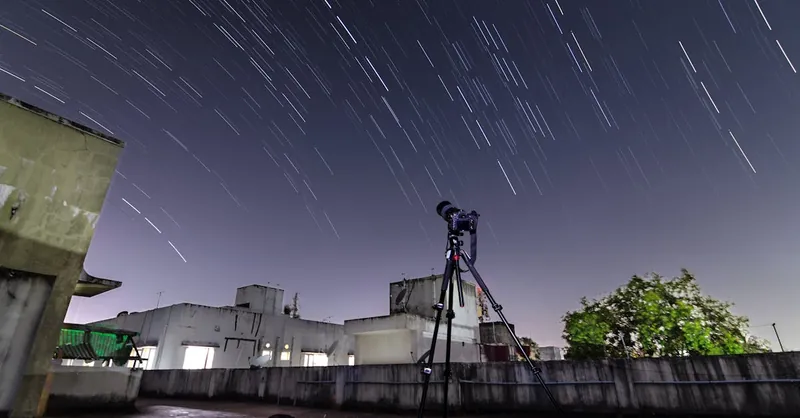
Image courtesy of Rohit Narayanan