How to Photograph Nebulae with a DSLR: Ultimate Guide
Category: Astrophotography
Capture Stunning Nebulae with Your DSLR: A Complete Guide
If you're an astronomy enthusiast or an aspiring astrophotographer eager to capture the mysterious beauty of nebulae using your DSLR, you're in the right place. Photowalking the night sky and bringing vibrant cosmic clouds into your images can be challenging, especially with the low light conditions and the vast distances involved. Perhaps you have a DSLR camera and a passion for the stars, but you’re unsure about the exact settings, equipment, or post-processing techniques needed to make your shots shine.
Many beginners and intermediate users face hurdles like long exposure noise, tracking star movement, or getting the right focus on faint nebulae. This guide is tailored to equip you with practical, step-by-step instructions that demystify nebula photography — from choosing the right lens and camera settings to assembling affordable tracking gear and applying effective editing workflows. Unlike more generic tutorials, we merge technical insights from planetology and space engineering with hands-on astrophotography tips, ensuring that you not only take photos but truly understand the why and how behind each step.
Dive in to learn how you can start turning your DSLR into a powerful tool to photograph distant nebulae, achieve impressive clarity, and reveal the raw beauty of the cosmos through your lens.
- Capture Stunning Nebulae with Your DSLR: A Complete Guide
- Essential Equipment for Nebula Photography with a DSLR
- Understanding Nebulae and Their Characteristics
- Camera Settings for Optimal Nebula Capture
- Planning Your Astro Session: Location, Timing, and Weather
- Using Tracking Mounts vs. Static Shots: Pros and Cons for Nebula Photography
- Applying Filters to Enhance Nebula Details
- Capturing Multiple Exposures and Image Stacking
- Processing Your Nebula Photos: Software and Techniques
- Troubleshooting Common Problems in Nebula Photography
- Advanced Tips for Improving Your Nebula Shots
Essential Equipment for Nebula Photography with a DSLR
Capturing the intricate details and vibrant colors of nebulae with your DSLR requires more than just a good camera—it demands the right combination of equipment that can handle long exposures, low light, and precise tracking of celestial objects. Selecting the appropriate gear is crucial to minimizing noise, enhancing image clarity, and maximizing the quality of your nebula shots.
Choosing the Right DSLR Camera
When it comes to photographing nebulae, a DSLR with a full-frame sensor is highly recommended because it offers superior light sensitivity and dynamic range, essential for capturing faint nebulous details. Models with good low-light performance, such as those featuring high ISO capabilities and low noise at extended exposures, will greatly improve your results. Additionally, a camera that allows for manual controls over ISO, aperture, and shutter speed is indispensable, as astrophotography relies heavily on customizing these settings.
Selecting Lenses for Nebula Photography
Wide-aperture lenses (with an aperture of f/2.8 or lower) are ideal for gathering maximum light from distant nebulae. Many astrophotographers prefer fast prime lenses in the range of 50mm to 135mm for wide-field shots of large nebula complexes, while telephoto lenses or refractor telescopes adapted for DSLR use help capture detailed close-ups of smaller nebulae. Make sure the lens offers good sharpness, minimal chromatic aberration, and a sturdy mount to maintain focus during long exposures.
Tripods: Stability is Key
A solid and stable tripod is the backbone of any astrophotography setup. Long exposure times—sometimes spanning several minutes—mean even the slightest vibration or movement can ruin a shot. Look for tripods made from durable materials like aluminum or carbon fiber, with a central column that locks tightly and legs that can be securely spread to provide maximum stability on uneven terrain.
Optional Accessories: Star Trackers and Filters
-
Star Trackers: To combat the Earth's rotation which causes star trails, a motorized star tracker is a game-changer. By slowly moving your camera to follow the stars, trackers allow for longer exposures without star blur, enhancing the amount of detail captured in faint nebulae.
-
Astrophotography Filters: Using narrowband or light pollution reduction filters can dramatically improve contrast and color fidelity in your nebula images. Filters such as H-alpha, OIII, and SII narrowband filters isolate specific emission lines from nebulae, resulting in richer, more defined images with reduced background light interference.
Equipping yourself with the right DSLR, lens, sturdy tripod, and optional tracking and filtering tools will set a solid foundation for successful nebula photography, enabling you to push the boundaries of your astrophotography and reveal breathtaking cosmic structures.
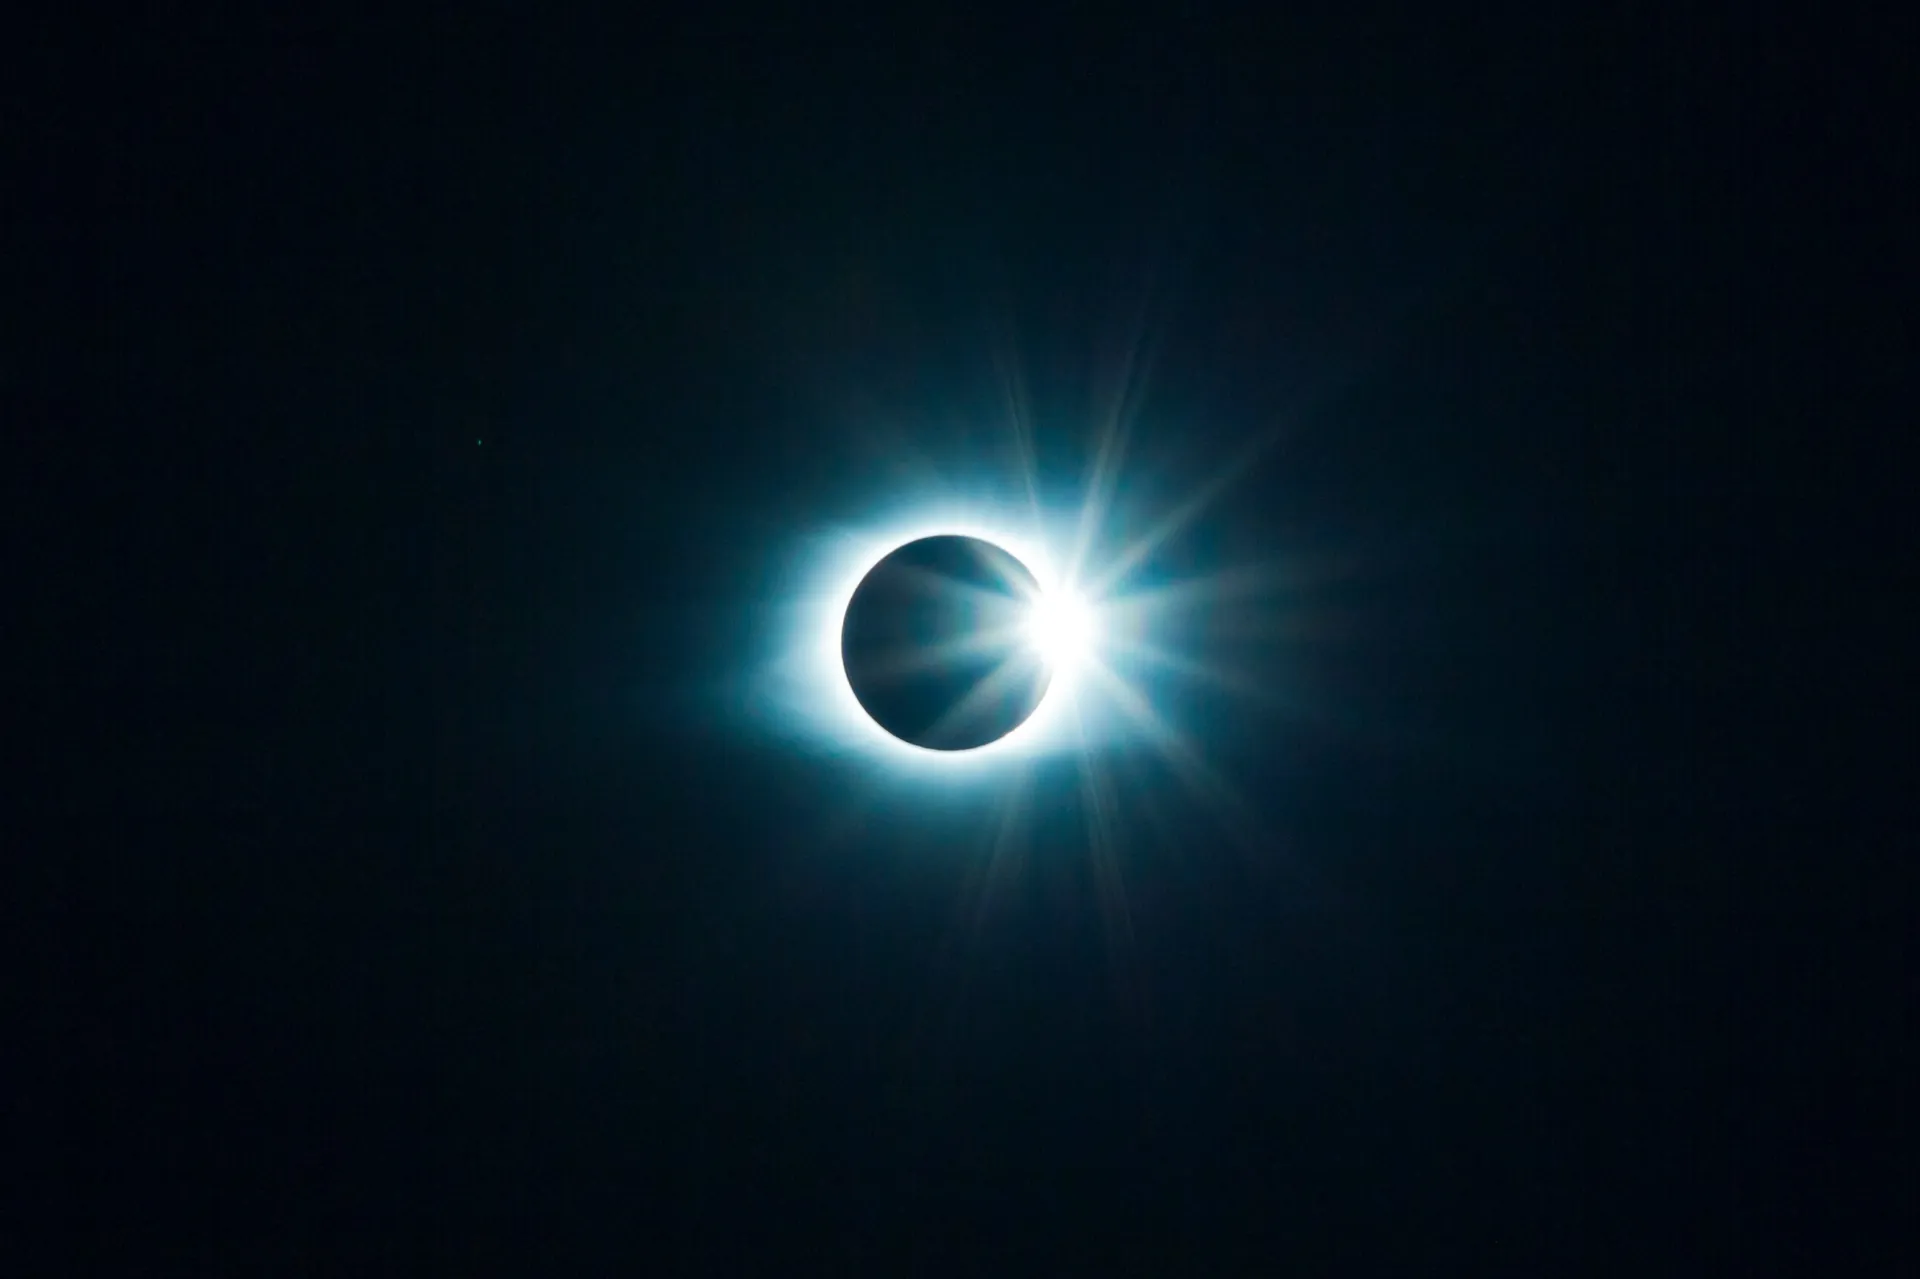
Image courtesy of Rohit Narayanan
Understanding Nebulae and Their Characteristics
Before you point your DSLR skyward, it’s crucial to understand the types of nebulae you aim to photograph and how their intrinsic characteristics influence your shooting strategy. Nebulae are vast clouds of gas and dust, exhibiting a range of brightness and structural nuances that directly impact exposure settings and lens choice.
Types of Nebulae Suitable for DSLR Imaging
For DSLR astrophotography, the most accessible and rewarding nebulae generally fall into these categories:
-
Emission Nebulae
These nebulae glow brightly due to ionized gas emitting light, often rich in hydrogen-alpha (Hα) emission lines. Examples include the Orion Nebula (M42) and the Lagoon Nebula (M8). Their relatively strong brightness and vivid colors make them ideal targets, especially when using narrowband filters optimizing Hα wavelengths. -
Reflection Nebulae
Unlike emission nebulae, reflection nebulae shine by reflecting the light of nearby stars and typically appear bluish. They tend to be fainter, as they don’t emit light themselves. Examples are the Witch Head Nebula and the Pleiades reflection nebulae. Since they are dimmer, capturing these requires longer exposures and more sensitive settings. -
Planetary Nebulae
These are compact but highly detailed clouds of ionized gas expelled by dying stars, such as the Ring Nebula (M57). Their smaller size and distinct shape demand tighter framing—often with telephoto lenses or telescope setups—and precise focusing. -
Dark Nebulae
Dark nebulae are dense clouds of dust that obscure background starlight, creating striking silhouettes. Although they lack intrinsic brightness, their contrast with bright stars makes them captivating but challenging targets that benefit from specific exposure strategies to preserve shadow detail.
Brightness and Its Implications for Exposure Settings
The surface brightness of a nebula is a key factor to consider when configuring your DSLR’s exposure. Brighter nebulae allow for shorter exposure times and lower ISO settings, reducing noise and star trailing risks. Conversely, faint nebulae, including many reflection and dark nebulae, require longer exposures at higher ISOs, increasing the importance of stable tracking equipment and noise reduction techniques.
Understanding nebula brightness also influences your choice of aperture and exposure duration:
- Faster lenses (low f-number) help maximize incoming light, essential for faint targets.
- Exposure time needs to balance gathering enough light against star movement, which can cause blur without tracking.
- ISO sensitivity must be set high enough to capture faint details but balanced against increased sensor noise.
By tailoring your settings to the type of nebula and its brightness, you enhance your DSLR’s ability to capture the subtle hues and complex textures of these celestial clouds, resulting in astrophotography that truly conveys their cosmic splendor.
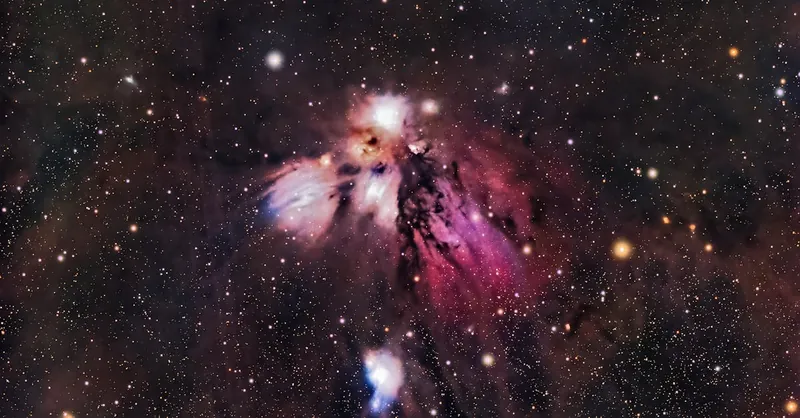
Image courtesy of Scott Lord
Camera Settings for Optimal Nebula Capture
Achieving breathtaking nebula images with your DSLR hinges on mastering camera settings tailored to the unique challenges of astrophotography. Because nebulae are faint, diffuse objects submerged in the vast darkness of space, careful adjustment of ISO, aperture, shutter speed, focus, and shooting format is essential to maximize detail, color fidelity, and signal-to-noise ratio.
ISO: Balancing Sensitivity and Noise
Set your DSLR’s ISO high enough to capture faint nebular details but low enough to avoid excessive sensor noise. A good starting point is an ISO range between 800 and 3200, depending on your camera’s low-light performance. Modern full-frame DSLRs often maintain decent noise levels even at ISO 3200, essential for detecting subtle emission lines in nebulae. Use test exposures to find the optimal ISO: increase it until you start seeing unacceptable noise levels, then dial it back slightly.
Aperture: Maximizing Light Intake
Use the widest aperture your lens allows—typically between f/1.8 and f/2.8—to gather the maximum amount of light from distant nebulae. A wide aperture reduces exposure time and helps reveal faint structures and colors. However, be mindful that many lenses exhibit soft corners or chromatic aberration at their widest apertures; stopping down slightly to f/2.8 or f/4 often improves sharpness while still admitting ample light.
Shutter Speed: Capturing Detail Without Star Trails
Shutter speed plays a dual role in nebula photography: it determines how much light accumulates and how much star trailing occurs due to Earth’s rotation. Without a star tracker, the common “500 Rule” offers a useful guideline: divide 500 by your lens’ focal length (in millimeters) to find the maximum exposure time in seconds before stars start to trail noticeably. For example, with a 50mm lens, aim for exposures under 10 seconds. If using a motorized star tracker, much longer exposures (several minutes) are possible, vastly improving image quality and depth.
Focusing Techniques for Sharp Nebula Images
Precise focus is critical since nebulae are subtle and diffuse. Switch to manual focus and set your lens aperture to its widest during focusing for better visibility of stars. Use the camera’s live view mode and magnify a bright star (preferably near the nebula) to achieve pinpoint sharpness. Some photographers employ Bahtinov masks—special diffraction tools—to enhance focusing accuracy. Remember to lock your focus once set to avoid drift during long exposures.
Shooting Formats: RAW for Maximum Flexibility
Always shoot in RAW format to retain complete sensor data, preserving maximum dynamic range and color depth crucial for post-processing nebula images. RAW files allow effective adjustment of exposure, white balance, and noise reduction without degrading image quality—advantages that JPEGs cannot provide in astrophotography. Additionally, consider capturing multiple exposures for subsequent stacking, which significantly enhances image clarity and reduces random noise.
By fine-tuning your DSLR’s ISO, aperture, shutter speed, focus, and shooting format based on these principles, you lay the groundwork for capturing nebulae in all their ethereal detail and vibrant color. This optimized approach will dramatically elevate your astrophotography and unlock the hidden beauty of the cosmos through your lens.
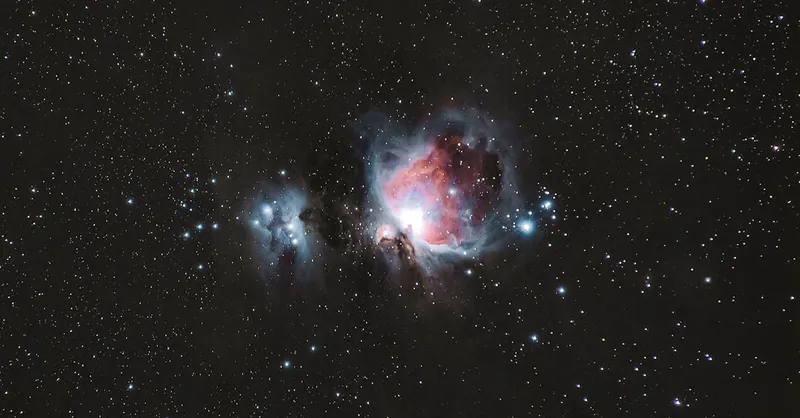
Image courtesy of Alex Andrews
Planning Your Astro Session: Location, Timing, and Weather
Successful nebula photography with a DSLR begins long before you lift your camera to the night sky. Careful planning of your astro session—selecting an optimal location, timing your shoot according to moon phases, and monitoring weather conditions—is essential to maximize image quality and reveal the intricate details of distant nebulae.
Choosing the Perfect Dark-Sky Location
Light pollution severely diminishes the visibility of faint nebulae by overwhelming their subtle glow with artificial sky brightness. To capture rich nebula images, seek out dark-sky sites far from urban centers. These locations, often designated as Dark Sky Parks or Reserves, minimize interference from streetlights, buildings, and vehicles. Before heading out, use tools like the Dark Site Finder or apps such as Light Pollution Map to identify regions with the lowest skyglow. Additionally, consider accessibility and safety—choose places where you can set up your tripod without obstructions and stay comfortably through extended sessions.
Timing Your Shoot: Moon Phase and Seasonal Considerations
The moon’s illumination has a profound effect on nebula visibility. Bright moonlight scatters in the atmosphere and can wash out faint emission details. For best results, plan your nebula sessions during new moon periods or when the moon is below the horizon. This provides the darkest skies and enhances contrast, allowing nebulae’s delicate colors and structures to stand out vividly.
Seasonal timing also matters. Many prominent nebulae, like the Orion Nebula or the Lagoon Nebula, are best visible at specific times of the year when they are highest in the night sky. Aim to shoot when these targets culminate near the zenith, reducing atmospheric distortion and improving clarity.
Monitoring Weather Conditions for Optimal Clarity
Clear, stable atmospheric conditions are vital for sharp, high-contrast nebula images. Check the weather forecast for low humidity, minimal cloud cover, and calm winds before planning your session. High humidity or haze scatters light and reduces transparency, washing out faint nebula details. Likewise, strong winds can cause vibrations in your tripod or tracking mount, ruining long exposures.
Use specialized astronomy weather services like Clear Dark Sky or AstroWeather to get detailed forecasts on sky transparency, seeing conditions, and cloud cover. Also, give preference to nights after a cold front passes, as these typically offer crisp, stable skies with less atmospheric turbulence.
By strategically selecting a dark-sky location, timing your shoot to avoid moonlight, and monitoring weather conditions closely, you set the stage for capturing vibrant, detailed nebula photographs with your DSLR. These preliminary steps are as crucial as camera settings and equipment in your quest to reveal the cosmos’s ethereal beauty.
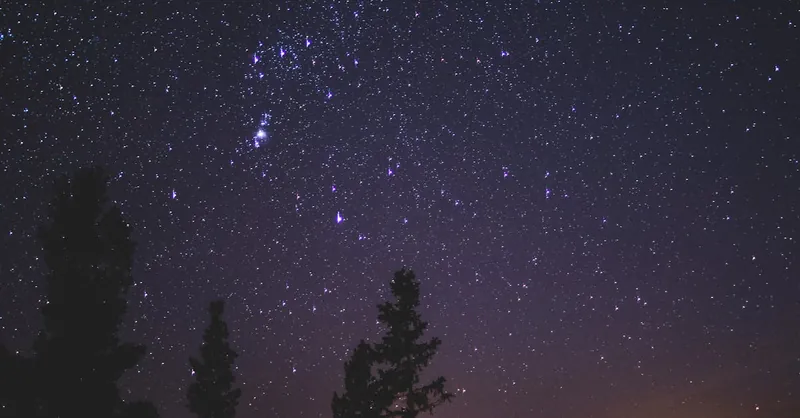
Image courtesy of Sindre Fs
Using Tracking Mounts vs. Static Shots: Pros and Cons for Nebula Photography
When photographing nebulae with a DSLR, one of the critical decisions is whether to use a tracking mount (such as an equatorial mount or star tracker) or rely on static shots with a fixed tripod. Each approach comes with unique benefits and challenges that impact image quality, ease of setup, and the level of detail you can capture. Understanding these trade-offs will help you optimize your astrophotography workflow and choose the best method for your equipment and target nebula.
Advantages of Using Tracking Mounts
Tracking mounts are designed to counteract Earth’s rotation by slowly moving your camera in sync with the stars, allowing for much longer exposure times without star trailing. This capability is especially crucial for deep-sky objects like nebulae, which emit very faint light requiring extended light gathering.
Key benefits include:
- Longer exposure times — enabling capture of faint nebular details and vibrant colors without star trails.
- Improved signal-to-noise ratio — by accumulating more photons during extended exposures, image noise is effectively reduced.
- Greater flexibility — with tracking, you can use higher focal lengths or telescopes and still achieve sharp images.
- Stacking efficiency — longer, precise exposures produce better base frames for stacking and post-processing.
However, tracking mounts also introduce additional complexity:
- They require polar alignment to accurately track celestial motion, which can be time-consuming to set up.
- Mechanical errors like periodic error or backlash may cause slight star movement unless corrected.
- Investing in quality tracking equipment can be costly and adds to your gear’s bulk and transport needs.
Benefits and Limitations of Static Shots on a Fixed Tripod
Static or fixed tripod shooting involves capturing multiple shorter exposures without any tracking, relying on the camera’s stability and fast shutter speeds to avoid star trails. This approach is popular among beginners and those seeking simplicity or portability.
Key advantages include:
- Simplicity and speed — quick setup with minimal gear and no need for alignment.
- Lightweight and portable — ideal for travel or remote dark-sky locations.
- Lower cost — requires only a sturdy tripod and your DSLR plus lens.
But static shooting has its constraints:
- Exposure times must be kept short (usually under 10-15 seconds) to prevent star trailing, drastically reducing light capture.
- To compensate, you may need to raise ISO to higher levels, increasing image noise and losing faint nebula details.
- Smaller apertures or longer focal lengths increase trailing risk, limiting composition options.
- Achieving high signal-to-noise ratios depends heavily on stacking many short exposures, requiring more post-processing time.
Which Method is Right for You?
If you aim to capture high-detail, colorful nebula images with your DSLR and are willing to invest time in setup and post-processing, using a tracking mount is the best choice. It unlocks longer exposures, reduces star trailing, and improves overall image quality—especially important for faint, large nebulae or tight telephoto framing.
Conversely, if you are new to astrophotography, want a lightweight setup, or plan casual shooting sessions of bright nebulae with wide-angle lenses, static tripod shots remain a valid and accessible method. By stacking multiple exposures and using noise reduction in editing, you can still attain impressive results.
Ultimately, combining these techniques in your workflow—starting with static shots and gradually incorporating tracking mounts as you build experience—provides a balanced path toward mastering nebula photography with your DSLR.
Image courtesy of Nothing Ahead
Applying Filters to Enhance Nebula Details
When photographing nebulae with a DSLR, using filters can significantly enhance the visibility of subtle structures and improve color contrast by isolating key emission lines. Among these, narrowband filters such as Hydrogen-alpha (Hα) and Oxygen III (OIII) stand out for their ability to cut through light pollution and skyglow, revealing intricate nebula details otherwise lost in broadband imaging.
Narrowband Filters: What They Are and Why Use Them
Narrowband filters allow only a narrow wavelength band of light to reach your sensor, typically targeting specific emission lines produced by nebular gas. This selective transmission suppresses unwanted background light, including artificial light pollution and moonlight, resulting in higher contrast images with sharper nebula structures.
- H-alpha (656 nm): This filter isolates the deep-red light emitted by ionized hydrogen, the dominant component in many emission nebulae. It’s ideal for enhancing red hues and revealing fine gaseous filaments.
- OIII (501 nm): Targeting doubly ionized oxygen emissions, OIII filters highlight greenish-blue details often found in planetary and some emission nebulae, bringing out shapes and edges less apparent in broad-spectrum imaging.
- SII (Sulfur II, 672 nm): Occasionally used alongside Hα and OIII, SII filters capture sulfur emissions and are vital for detailed tri-color narrowband imaging, though less common for beginner DSLR astrophotography.
Compatibility of Narrowband Filters with DSLRs
Most DSLRs are designed primarily for broadband color imaging and include an infrared-blocking filter that partially reduces sensitivity to Hα wavelengths. Despite this, many modern DSLR cameras remain sufficiently responsive to H-alpha and OIII emission lines, especially when paired with dedicated narrowband filters. However, some astrophotographers choose to modify their DSLRs by removing or replacing the stock IR cut filter to boost Hα sensitivity further.
When selecting filters, consider:
- Filter size and mount compatibility — ensure filters match your lens or telescope’s filter thread.
- Camera sensor type (full-frame vs. crop sensor) — affects the field of view and may influence filter choice and imaging strategy.
- Filter bandpass width — narrower bandpasses (~3nm) provide better isolation of emission lines but may require longer exposure times.
When to Use Narrowband Filters in Nebula Photography
- In Light-Polluted Areas: Narrowband filters drastically reduce background light contamination, making them indispensable in urban or suburban settings.
- To Capture Specific Nebula Features: Use Hα filters to emphasize hydrogen-rich emission regions and OIII filters to highlight oxygen-rich structures, enhancing details invisible in standard broadband exposures.
- For Artistic and Scientific Imaging: Combining narrowband exposures allows creating composite Hydrogen-Alpha-Oxygen (HOO) images with spectacular color mapping or aiding scientific study of nebular composition and morphology.
Incorporating narrowband filters into your DSLR astrophotography workflow is a powerful way to overcome light pollution and reveal the stunning complexity of nebulae. Even without modifying your DSLR, these filters can transform your images, making faint emission details crisp, colorful, and compelling to both the eye and the camera sensor.
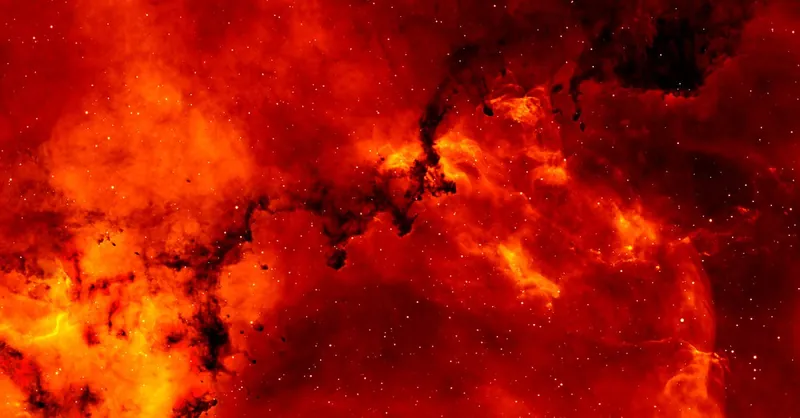
Image courtesy of Pixabay
Capturing Multiple Exposures and Image Stacking
To truly unveil the intricate details and vibrant colors of nebulae using your DSLR, capturing multiple exposures and employing image stacking techniques are essential practices. These methods significantly improve the signal-to-noise ratio (SNR) of your final image, reducing random sensor noise and enhancing faint nebular structures that single exposures often fail to reveal.
Exposure Bracketing: Gathering Quality Data
Exposure bracketing involves capturing a series of images at consistent settings or with slight variations to ensure you collect enough usable light while mitigating noise and overexposure risks:
- Capture multiple exposures of your target nebula with the same ISO, aperture, and shutter speed—preferably using a remote shutter release or intervalometer to avoid camera shake.
- Take many individual frames (20 to 50 or more) depending on the target brightness and sky conditions. More exposures allow better averaging of random noise.
- Include shorter exposure frames if the nebula contains very bright stars or regions prone to saturation, to preserve highlight details.
Calibration Frames: Dark, Flat, and Bias Frames
To maximize image quality and correct for sensor artifacts, your imaging session should include calibration frames:
- Dark Frames: Taken with the lens cap on, using the same ISO and exposure as your light frames, dark frames capture thermal noise and hot pixels for subtraction during processing.
- Flat Frames: Images of a uniformly illuminated surface (such as a white screen or sky at twilight) used to correct vignetting and dust spots on your sensor or lens.
- Bias Frames: Very short exposures with the lens cap on, used to calibrate the camera’s read noise.
Applying these calibration frames ensures that unwanted noise patterns and optical imperfections are minimized, enhancing detail clarity in stacked images.
Image Stacking: Combining Exposures for Enhanced Signal
Stacking software such as DeepSkyStacker, Sequator, or PixInsight aligns and combines your multiple exposures to build a single, high-SNR image where noise is statistically reduced, and faint nebulosity becomes visible:
- Alignment: The software compensates for slight movements or tracking errors by aligning stars across all frames.
- Combination Methods: Techniques like average, median, or sigma clipping help suppress transient artifacts like cosmic rays and satellite trails.
- Improved Dynamic Range: Stacking increases the effective dynamic range, allowing subtle nebula features and color gradients to emerge after further processing.
By incorporating exposure bracketing, using essential calibration frames, and mastering stacking techniques, astrophotographers can dramatically improve nebula image quality with a DSLR. These steps are paramount for overcoming the challenges of low light, sensor noise, and environmental interference, ultimately revealing the breathtaking complexity of nebulae with clarity and vibrant color fidelity.
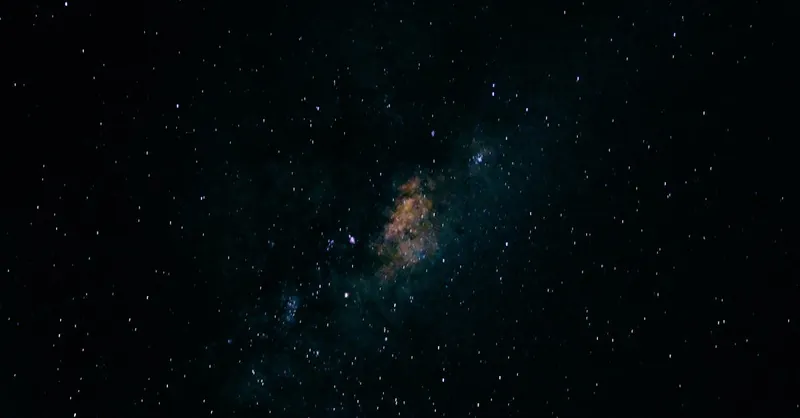
Image courtesy of Adrien Olichon
Processing Your Nebula Photos: Software and Techniques
Capturing stunning nebula images with your DSLR is only the beginning—the real magic happens during post-processing, where raw data transforms into vivid, detailed cosmic portraits. Effective processing not only enhances the visibility of faint nebula structures but also dramatically improves color accuracy, sharpness, and overall image quality. To achieve professional-grade nebula photography results, mastering essential post-processing steps such as noise reduction, color correction, contrast adjustments, and sharpening is critical.
Key Post-Processing Steps for Nebula Images
-
Noise Reduction:
Long exposure and high ISO settings often introduce sensor noise, especially in deep-sky astrophotography. Use specialized noise reduction algorithms within software like DeepSkyStacker, Adobe Lightroom, or PixInsight to selectively reduce chromatic and luminance noise without sacrificing fine nebular details. Applying noise reduction in stages—first on stacked images and then selectively on darker regions—helps maintain texture and clarity. -
Color Calibration and Correction:
Because DSLR sensors and filters can alter nebula colors, performing accurate color calibration is crucial to restore true cosmic hues. Software tools allow you to adjust white balance, correct for sensor biases, and balance the dominant red, green, and blue channels. In narrowband imaging, combining Hα, OIII, and SII data using color mapping techniques enhances structural contrasts and reveals hidden nuances in nebulae. -
Contrast and Levels Adjustment:
Increasing contrast and carefully modifying brightness levels bring out subtle variations in nebula density and glow. Using curves or histogram tools, emphasize midtones and highlights to delineate nebula edges while preserving details in shadowed areas. Avoid overdoing contrast, which can lead to unnatural look or banding artifacts. -
Sharpening and Deconvolution:
Applying sharpening algorithms or deconvolution techniques enhances fine structures such as filamentary gas clouds and star edges within nebulae. Many astrophotography programs include deconvolution tools that reverse blurring caused by atmospheric turbulence and optical imperfections, substantially improving image crispness. -
Gradient Removal:
Sky gradients from light pollution or atmospheric effects can create uneven backgrounds that distract from nebula detail. Using gradient removal tools available in PixInsight or Photoshop smooths out these artifacts, delivering uniform dark backgrounds that make nebulae “pop” visually.
Recommended Software for Nebula Post-Processing
- DeepSkyStacker: Free beginner-friendly option for calibration, alignment, stacking, and simple noise reduction.
- PixInsight: Industry-standard astrophotography software with advanced processing capabilities for calibration, deconvolution, color calibration, and gradient removal.
- Adobe Photoshop and Lightroom: Highly versatile for creative adjustments, color correction, and fine-tuning final appearance.
- Sequator: Simple stacking software emphasizing ease of use, compatible with Windows.
By incorporating these essential post-processing techniques and leveraging dedicated astrophotography software, you can dramatically elevate your nebula photos captured with a DSLR. This vital phase unlocks the hidden depths, vivid colors, and subtle structures of nebulae—transforming raw exposures into breathtaking images that truly reflect the cosmic wonders you observed under dark skies.

Image courtesy of George Milton
Troubleshooting Common Problems in Nebula Photography
Astrophotography with a DSLR presents unique challenges that can hinder capturing sharp, vibrant nebula images. Understanding and effectively troubleshooting common issues such as focus difficulties, star trails, light pollution, and sensor noise is essential to improving your results and making your nebula images stand out.
Overcoming Focus Issues
Achieving precise focus on distant nebulae is one of the toughest tasks in astrophotography. Autofocus systems usually fail in low-light conditions, so relying on manual focus is critical. To troubleshoot focus problems:
- Use live view mode to zoom in on a bright star near your target nebula and fine-tune focus until stars appear as sharp points.
- Employ a Bahtinov mask, a simple focusing aid that creates distinctive diffraction spikes to confirm critical focus quickly and accurately.
- Verify focus periodically during your session, as temperature changes can cause lens focus to drift.
Preventing Star Trails
Star trailing occurs when long exposures capture the apparent motion of stars due to Earth's rotation, resulting in blurred star points and loss of nebular detail. To minimize or eliminate star trails:
- Follow the 500 Rule: Limit exposure time according to your lens focal length (500 divided by the focal length in mm) when using a fixed tripod.
- Use a motorized star tracker or equatorial mount that precisely follows the stars’ movement, enabling longer exposures free from trailing.
- Consider stacking many shorter exposures rather than one long frame to retain sharp stars while increasing signal-to-noise ratio.
Mitigating Light Pollution Effects
Light pollution washes out faint nebula details by elevating the brightness of the night sky. Combat light pollution with these practical solutions:
- Choose dark-sky locations whenever possible to drastically reduce skyglow.
- Use light pollution filters tailored for your DSLR to block common artificial light wavelengths while preserving nebula emissions.
- Shoot during moonless nights or when the moon is below the horizon to limit natural light interference.
- In post-processing, apply gradient removal tools and selective contrast enhancement to restore nebula visibility against light-polluted backgrounds.
Reducing Sensor Noise
Long exposures and high ISO settings necessary for nebula photography can introduce significant sensor noise, degrading image quality. To address noise issues:
- Shoot multiple exposures and apply image stacking to statistically reduce random noise.
- Use dark frames and calibration frames to subtract thermal noise and sensor artifacts.
- Choose DSLRs with good low-light performance and consider cooling methods during extended sessions if possible.
- In post-processing, apply selective noise reduction techniques that smooth background noise while preserving nebula details.
By systematically troubleshooting focus, star trails, light pollution, and sensor noise, you empower your DSLR astrophotography workflow to capture sharper, cleaner, and more vibrant nebula images. Incorporating these practical solutions elevates your ability to reveal the subtle beauty of cosmic clouds, making your night sky photography truly stellar.
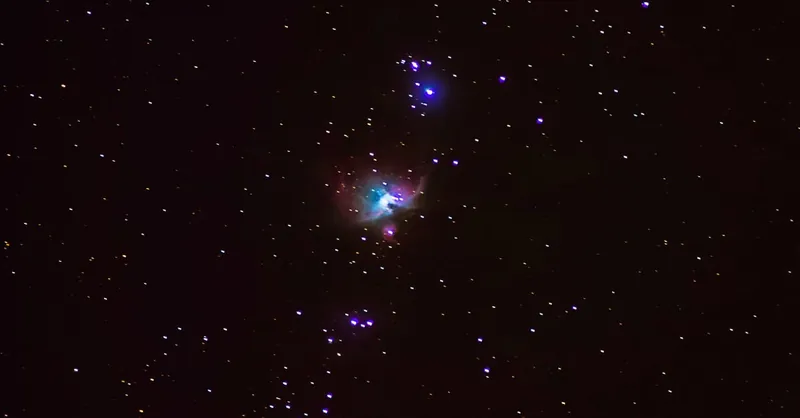
Image courtesy of Alexandre P. Junior
Advanced Tips for Improving Your Nebula Shots
Once you have mastered the basics of nebula photography with your DSLR, leveraging advanced techniques can significantly elevate the quality of your images by enhancing detail, reducing noise, and achieving richer color fidelity. Among these, dithering, utilizing longer focal lengths, and creating DIY telescope adapters for narrowband capture stand out as powerful methods to push your astrophotography to the next level.
Dithering to Reduce Noise and Artifacts
Dithering is a sophisticated image acquisition technique that slightly shifts the camera’s framing between each exposure during a session. This deliberate, controlled movement ensures that sensor and optical artifacts—such as hot pixels, noise patterns, and dust spots—fall on different pixels across multiple frames. When you stack these dithered exposures in post-processing software, the variations enable more effective rejection of defects, yielding cleaner, higher signal-to-noise ratio (SNR) images.
Key benefits of dithering include:
- Reduction of fixed pattern noise and hot pixels without relying solely on calibration frames.
- Enhanced ability to remove satellite trails, cosmic rays, and other transient artifacts.
- Improved overall image quality, especially in long integration sessions required for faint nebulae.
Many modern star trackers and guiding mounts support dithering natively. If your equipment lacks this feature, small manual adjustments between exposures or using extenders can mimic dithering effects.
Utilizing Longer Focal Lengths for Detailed Nebula Imaging
While wide-field views show nebulae in their cosmic context, longer focal lengths (200mm and above) enable capturing intricate nebular structures and enhanced detail. Employing telephoto lenses, such as 300mm or 500mm primes, or coupling your DSLR to a refractor telescope offers higher magnification necessary for imaging smaller or complex nebulae like the Ring Nebula (M57) or the Dumbbell Nebula (M27).
When photographing at longer focal lengths:
- Use a high-precision star tracker or equatorial mount to maintain tracking accuracy and avoid star elongation.
- Focus rigorously with aids like a Bahtinov mask to maintain sharpness across the narrower field.
- Be mindful of atmospheric seeing conditions, which disproportionately affect high-magnification images.
This approach demands stable mounting and precise alignment but rewards with highly detailed, stunning nebula portraits that reveal filamentary structures and color gradients invisible to wider setups.
Enhancing Narrowband Capture Using DIY Telescope Adapters
Narrowband imaging with a DSLR often benefits from integrating your camera with telescopes designed for astrophotography. If you do not own a dedicated astrophotography camera, DIY adapters can bridge your DSLR body to various telescopes and optical assemblies, enhancing your ability to capture narrowband data.
Advantages of DIY telescope adapters include:
- Improved optical performance by leveraging the telescope’s superior glass and coatings, reducing aberrations common in standard camera lenses.
- Compatibility with narrowband filters placed in the optical path or filter wheels, which maximize signal extraction from emission lines.
- Customizable focal length and back-focus settings for perfect focusing and framing.
Building your own adapter kits—using 3D-printed parts, off-the-shelf T-rings, and extension tubes—is cost-effective and expands your capabilities beyond typical DSLR lens limits. This hands-on engineering aligns seamlessly with your interest in telescope building and space engineering, enhancing both image quality and astrophotography enjoyment.
By incorporating dithering, opting for longer focal lengths, and innovating with DIY telescope adapters for narrowband imaging, DSLR astrophotographers gain advanced control over their nebula captures. These techniques push your images’ depth, clarity, and color fidelity, unlocking the full potential of your DSLR in unraveling the breathtaking complexity of cosmic nebulae.
Image courtesy of Nothing Ahead