How to Track Planets in the Night Sky: A Practical Guide
Category: Astrophotography
Mastering Planet Tracking: Your Gateway to Night Sky Exploration
If you're an astronomy enthusiast, amateur astronomer, or a budding astrophotographer eager to expand your night sky observation skills, you've likely faced the challenge of reliably locating and tracking planets. Unlike stars, planets move relative to the star background, making them dynamic targets that require more than just pointing a telescope skyward. Maybe you've tried stargazing apps or star charts and found them too complex or inconsistent for your needs, or perhaps you want an in-depth approach that balances practical techniques with the science behind planetary motion.
This guide is crafted exactly for you — whether you're building your own telescope setup or enhancing your astrophotography workflow. Rather than offering a shallow overview, this post delivers clear, systematic methods to track planets effectively using tools, observations, and astrophysical principles. You'll learn how to use star charts, apps, and even build your own tracking setup with space engineering insights. Step by step, you'll gain confidence in identifying planets, following their paths, and capturing breathtaking images.
Dive in to discover the essentials of planet tracking in a format designed to respect your existing skills, quickly alleviate your frustrations, and ultimately elevate your astronomy adventures.
- Mastering Planet Tracking: Your Gateway to Night Sky Exploration
- Understanding Planetary Motion: How and Why Planets Move Differently from Stars
- Tools for Tracking Planets: Star Charts, Software, and Mobile Apps
- Using Telescope Mounts and Setting Circles for Accurate Planet Positioning
- Employing Celestial Coordinate Systems: Right Ascension and Declination Explained
- Planning Your Observation Night: Timing, Location, and Environmental Factors
- Manual Tracking Techniques: Visual Identification and Using Constellations as Landmarks
- Automated Planet Tracking: Introduction to GoTo Mounts and Planetarium Software
- Astrophotography Tips While Tracking Planets: Settings, Equipment, and Techniques
- Space Engineering Insights: Building DIY Tracking Systems and Motor Drives
- Common Challenges and Troubleshooting When Tracking Planets
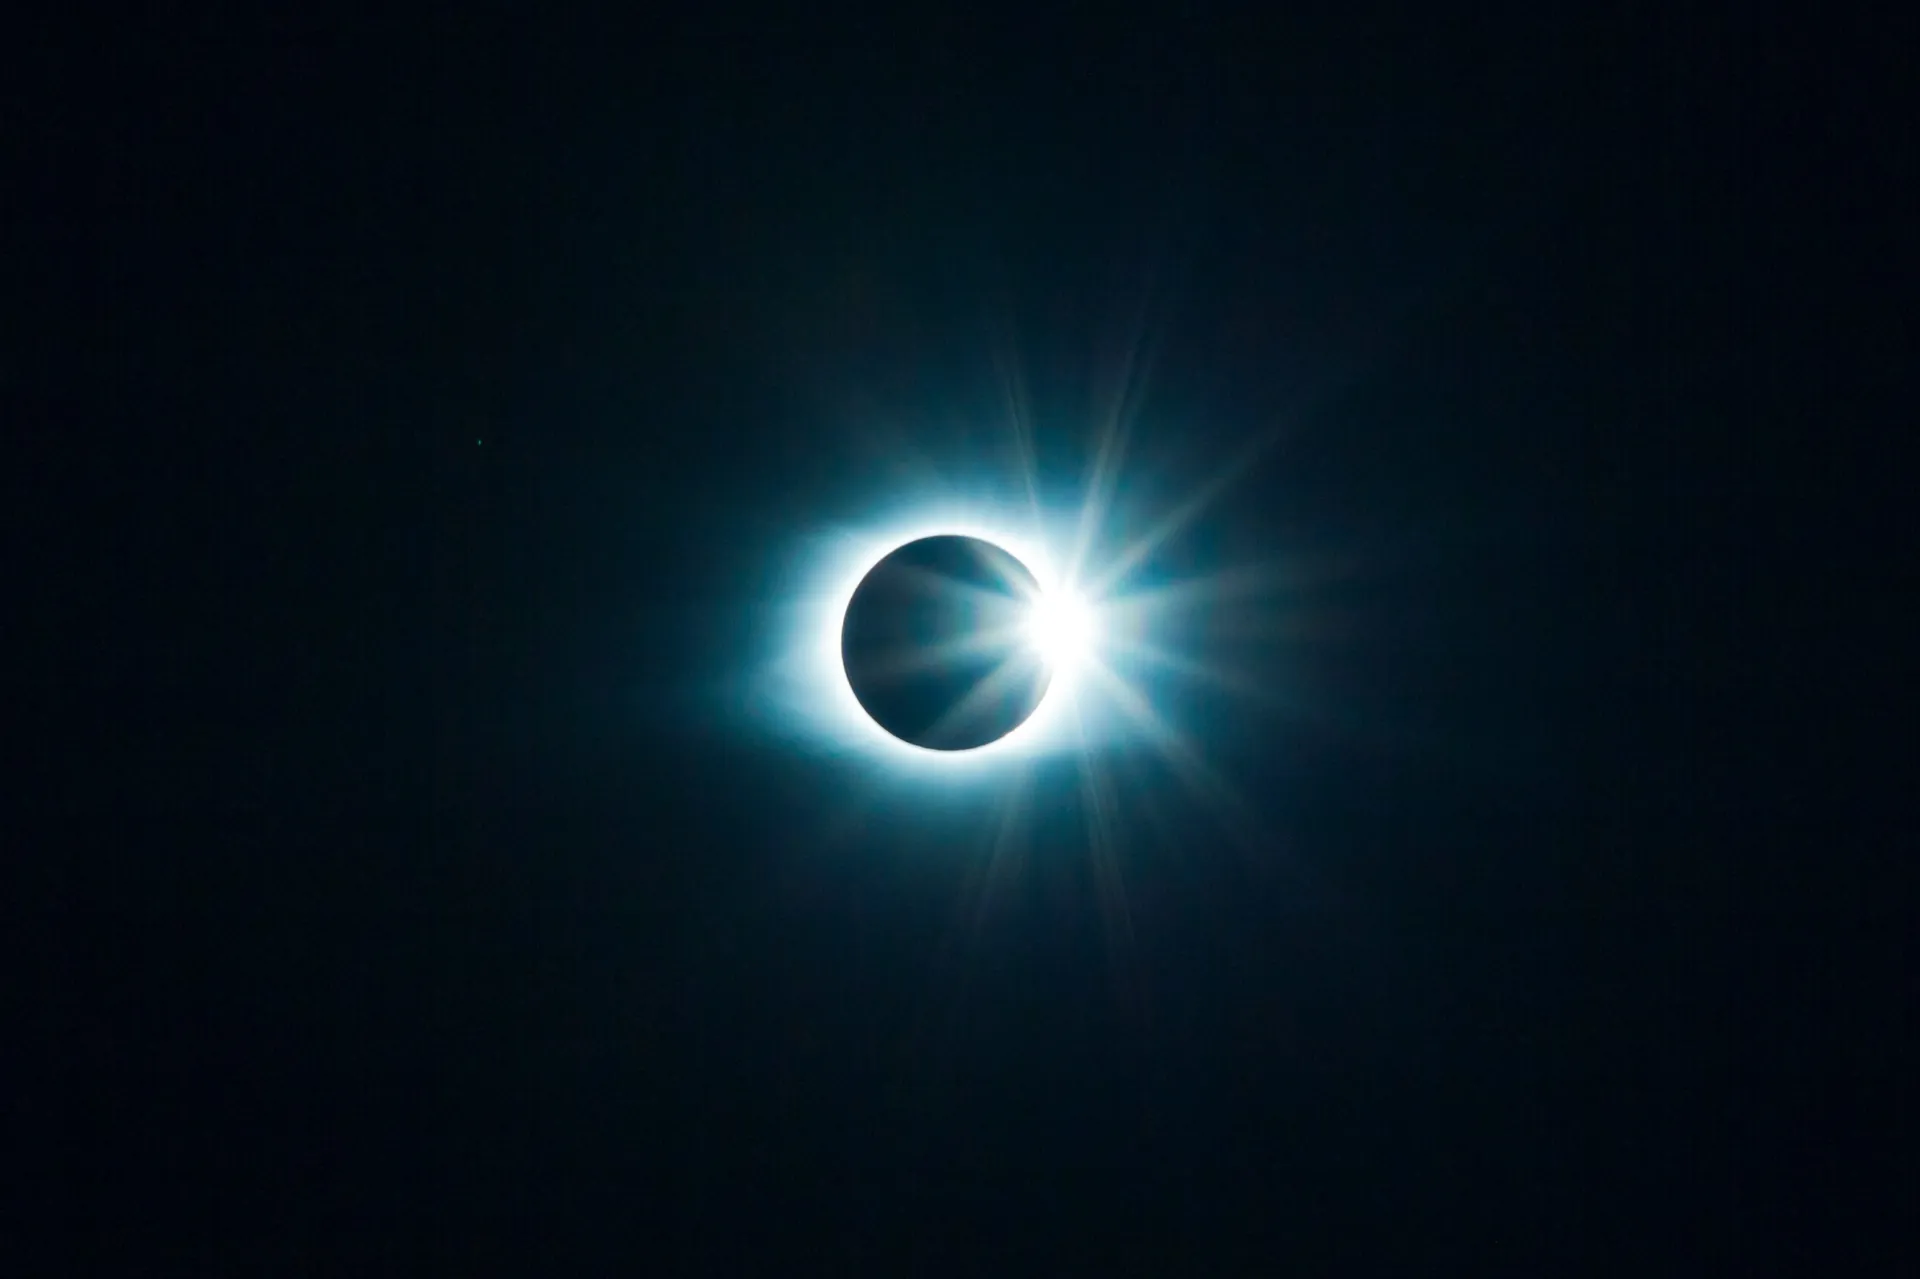
Understanding Planetary Motion: How and Why Planets Move Differently from Stars
To effectively track planets in the night sky, it’s essential to first understand why planets exhibit motion distinct from stars. Unlike stars, which appear fixed as distant points of light forming constellations, planets are dynamic objects orbiting the Sun within our solar system. This intrinsic movement is due to their orbital paths and relative positions to Earth, causing planets to shift against the stellar backdrop over days and weeks.
The Basics of Planetary Motion
Planets orbit the Sun in elliptical paths, each with different orbital periods ranging from months to years. From Earth’s perspective, this results in apparent motion known as planetary retrograde and direct motion:
- Direct Motion (Prograde): Planets generally move eastward relative to background stars, gradually shifting through constellations.
- Retrograde Motion: Occasionally, planets appear to reverse their direction temporarily. This backward movement is an optical effect caused by Earth overtaking slower outer planets in its orbit.
Why Planets Don’t Behave Like Stars in the Sky
- Relative Distance: Stars are located light-years away, so their positions change negligibly over short timescales. Planets, however, lie much closer, orbiting the Sun within our solar system, causing noticeable daily and monthly shifts.
- Changing Brightness and Position: As planets orbit, their distance from Earth and Sun changes, translating to fluctuations in brightness and phase, much like the Moon.
- Ecliptic Plane Alignment: Planets closely follow the ecliptic, the apparent path of the Sun across the celestial sphere, whereas stars are spread throughout the sky.
Grasping these fundamental principles of planetary motion will sharpen your ability to predict where a planet will appear in the night sky on any given night, making tracking more precise and efficient. This understanding bridges the gap between static star charts and dynamic planetary movements, empowering you to anticipate positional shifts without relying solely on apps or automated tools.
Image courtesy of Aleksa Kalajdzic
Tools for Tracking Planets: Star Charts, Software, and Mobile Apps
To successfully track planets in the night sky, equipping yourself with the right tools is just as crucial as understanding planetary motion. While naked-eye observations lay the foundation, leveraging star charts, astronomy software, and mobile apps significantly enhances accuracy and convenience—especially for identifying shifting planetary positions among the stars.
Star Charts: Traditional Yet Effective
Star charts remain one of the most reliable and accessible resources for planet tracking. These printed or digital maps detail the night sky’s layout, highlighting constellations and the ecliptic path along which planets travel. When used alongside your observation dates and times, star charts enable you to pinpoint where planets such as Mars, Jupiter, or Venus should appear.
- Advantages: Simple, no battery or signal required, great for field use.
- Limitations: Static charts require manual updates since planet positions change nightly.
Many comprehensive star charts also display planetary positions for months ahead, making them invaluable for planning extended observing sessions. Combining star charts with a detailed understanding of the ecliptic plane and visible constellations optimizes your ability to anticipate planet locations.
Astronomy Software: Advanced Visualization and Prediction
For those seeking greater precision, astronomy software offers dynamic planet tracking capabilities by simulating the night sky in real time or for any chosen date and location. Programs such as Stellarium, Celestia, and Cartes du Ciel provide:
- Real-time rendered views of planet locations against constellations.
- Multiple viewing options including horizon, zenith, and telescope eyepiece simulation.
- Customizable parameters like planetary ephemerides, observing conditions, and orbital data.
These software tools allow you to visualize retrograde loops, elongations, and conjunctions—key events that impact planet visibility. They empower beginners and seasoned astronomers alike to plan their observations with scientific accuracy instead of trial and error.
Mobile Apps: Planet Tracking on the Go
Mobile apps have revolutionized how amateur astronomers track planets, bringing powerful sky maps and interactive features onto smartphones and tablets. Leading apps such as SkySafari, Star Walk, and Google Sky Map combine GPS data with comprehensive celestial databases to:
- Instantly locate planets by pointing your device at the sky.
- Access updated planetary data including magnitude, phase, and orbital position.
- Receive alerts for upcoming planetary events and optimal viewing windows.
- Integrate with telescope controls or astrophotography software for automated tracking.
These apps are especially useful during spontaneous observing sessions or unfamiliar locations, turning your mobile device into a versatile planet locator and astronomy assistant.
By integrating star charts, software programs, and mobile apps into your observational toolkit, you harness a blend of traditional astronomy and modern technology. This multi-faceted approach ensures you can consistently and confidently track planets amidst the complexity of the night sky—feeding both your curiosity and your passion for astrophotography or telescope building.
Image courtesy of Kennst du schon die Umkreisel App?
Using Telescope Mounts and Setting Circles for Accurate Planet Positioning
For astronomers aiming to track planets with precision, mastering your telescope’s mechanical aids is a critical step. While star charts and apps guide you to a planet’s general location, telescope mounts combined with setting circles enable pinpoint accuracy and smooth tracking across the night sky, allowing prolonged observation or astrophotography sessions without losing the target.
The Importance of Telescope Mounts in Planet Tracking
A telescope mount forms the foundation for controlled movement and stability, enhancing your ability to follow planets’ slow but steady journeys along the ecliptic. There are two primary types:
- Altazimuth Mounts: Offer intuitive up-down and left-right aiming, ideal for beginners and casual observing but less efficient for precise tracking because they require manual adjustments in both axes to compensate for Earth’s rotation.
- Equatorial Mounts: Designed to align with Earth’s axis, enabling smooth rotation matching celestial motion by adjusting a single axis (right ascension). This makes them optimal for long-duration planet tracking and astrophotography.
Accurate mounting minimizes drift, keeps planets centered in your eyepiece, and allows seamless integration with computerized tracking systems when available.
How Setting Circles Improve Planet Positioning
Setting circles are graduated scales marked on the axes of equatorial mounts corresponding to celestial coordinates—Right Ascension (RA) and Declination (Dec)—similar to longitude and latitude on Earth. By referencing planetary coordinates from ephemerides (tables listing planets’ celestial positions by date and time), you can dial in to a planet’s exact location. The process involves:
- Aligning your mount’s polar axis with the North or South celestial pole.
- Calibrating setting circles using a known star of accurately cataloged RA and Dec.
- Using ephemeris data to read off the target planet’s coordinates.
- Adjusting the mount’s RA and Dec axes to align your telescope with the planet’s position.
This technique bypasses guesswork, making it possible to find planets even in cluttered star fields or twilight skies where visual confirmation is difficult.
Benefits for Astrophotography and Advanced Observing
Precise use of telescope mounts and setting circles is indispensable for astrophotographers capturing planetary details. Maintaining the planet’s position within the camera’s field of view reduces image blur and allows longer exposures. Additionally, it enhances your ability to follow planetary conjunctions, study phase changes, and observe transits or occultations with minimal manual correction.
In summary, combining equatorial mounts with accurately calibrated setting circles empowers both amateur and advanced astronomers to track planets with consistent accuracy, elevating observational quality beyond what apps and star charts alone can achieve. Mastery of these mechanical tracking aids is a gateway to deepening your night sky exploration and maximizing the scientific and artistic potential of planet observation.
Image courtesy of Francisco Ferreira
Employing Celestial Coordinate Systems: Right Ascension and Declination Explained
To elevate your planet tracking skills beyond basic star charts and apps, understanding the celestial coordinate system—specifically Right Ascension (RA) and Declination (Dec)—is essential. Much like geographic longitude and latitude on Earth, this system maps the sky onto an imaginary celestial sphere, providing a precise framework to locate planets, stars, and other celestial objects at any given time.
What are Right Ascension and Declination?
- Right Ascension (RA) measures the celestial equivalent of longitude. It is expressed in hours, minutes, and seconds, spanning 0 to 24 hours across the celestial equator, progressing eastward. RA pinpoints how far an object lies along the celestial equator from the vernal equinox, the "zero point" in the sky.
- Declination (Dec) corresponds to latitude on Earth and is measured in degrees, arcminutes, and arcseconds north or south of the celestial equator, ranging from +90° at the celestial north pole to -90° at the south pole. It indicates how high or low an object is relative to the celestial equator.
By combining these two coordinates, astronomers can specify any object's exact position, including planets whose locations change night to night.
Why Use RA and Dec for Planet Tracking?
- Precision in Positioning: Unlike simple azimuth and altitude, RA and Dec are fixed celestial coordinates tied to the sky’s coordinate grid, making it easier to plan observations based on celestial catalogues and ephemerides.
- Compatibility with Equatorial Mounts: Telescope mounts with setting circles are calibrated in RA and Dec, enabling direct mechanical alignment to planetary coordinates for accurate tracking.
- Predictive Ability: Celestial coordinates change predictably over time. Using RA and Dec values from planet ephemerides or astronomy software helps you anticipate the planet’s position hours or even days in advance.
How to Read and Apply Celestial Coordinates for Observing Planets
- Obtain Planet Ephemeris Data: Astronomy websites, apps, and software publish daily RA and Dec values for planets.
- Convert to Local Observation Time: Because RA and Dec reference the celestial sphere, adjust your observation time and location to interpret these coordinates correctly.
- Align Your Telescope:
- Use setting circles on your equatorial mount calibrated to RA and Dec.
- Adjust the mount to match the planet’s current RA and Dec.
- Track Planet Motion: As time progresses, update RA and Dec values to move your telescope accordingly, compensating for the planet’s orbital path and Earth’s rotation.
Mastery of the celestial coordinate system is a foundational skill in astronomy that transforms planet tracking from guesswork into a precise, repeatable science. This understanding bridges observational practice with the underlying celestial mechanics, empowering you to confidently locate and follow planets anywhere that clear skies allow.
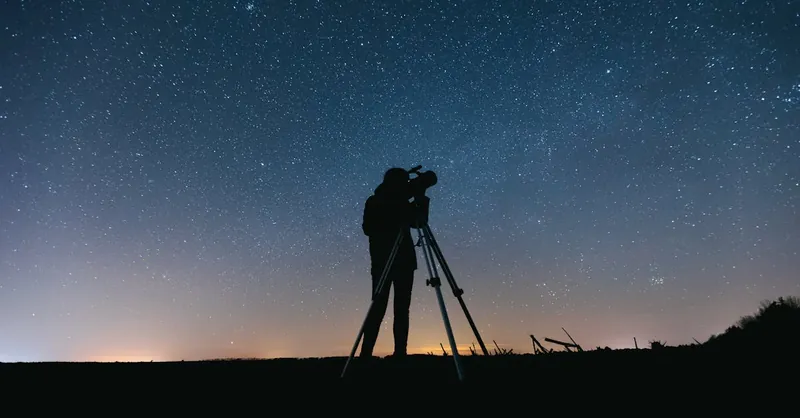
Image courtesy of Thirdman
Planning Your Observation Night: Timing, Location, and Environmental Factors
Successfully tracking planets in the night sky depends heavily on careful planning of your observation session, with key considerations including the timing of your observation, selecting the optimal location, and accounting for environmental conditions. By mastering these elements, you greatly increase your chances of clear, uninterrupted views that are crucial for both visual planet spotting and astrophotography.
Choosing the Right Time: When to Observe Planets
Planet visibility varies depending on their position relative to the Sun and Earth. To maximize observation success, consider these timing strategies:
- Observe During Optimal Planetary Elongations: Inner planets like Venus and Mercury are best seen near their greatest elongation from the Sun, when they appear highest in the sky after sunset or before sunrise.
- Plan Around Opposition and Conjunctions: Outer planets such as Mars, Jupiter, and Saturn are brightest and closest during opposition, which occurs when Earth lies directly between the planet and the Sun.
- Pick Moonless or Low Moonlight Nights: Bright moonlight can wash out planetary details and reduce contrast, so scheduling observations around new moon phases enhances clarity.
- Account for Planetary Rise and Set Times: Use astronomy apps or software to track specific planet rise and set times for your location to ensure you observe when the planet is above the horizon and at its highest elevation.
Selecting the Ideal Location: Maximizing Sky Visibility
Your observing site plays a critical role in planet tracking effectiveness by influencing light pollution, horizon visibility, and atmospheric steadiness:
- Seek Dark Skies Away from Urban Light Pollution: Light pollution degrades visibility by reducing contrast. Utilize dark sky maps to find nearby low-light areas, parks, or designated dark sky reserves.
- Choose Sites with Clear, Low Horizons: Since planets often follow the ecliptic close to the horizon, an unobstructed view free of trees, buildings, or mountains ensures you don’t miss low-lying planets.
- Consider Altitude and Air Quality: Higher elevations usually offer steadier, thinner atmosphere that enhances image sharpness and seeing conditions vital for detailed planetary observations.
Environmental Factors to Monitor for Optimal Viewing
Even with perfect timing and location, local environmental factors can greatly affect planet tracking quality:
- Check Weather Forecasts for Clear Skies: Cloud cover, humidity, and atmospheric turbulence can significantly impair visibility. Prioritize nights with stable, dry air conditions.
- Minimize Atmospheric Turbulence (Seeing): Calm nights with little wind produce steadier ‘seeing’—the clarity and sharpness of celestial objects. Avoid nights with strong winds or temperature inversions.
- Avoid Light Interference: Turn off any artificial lights near your setup and use red-filtered flashlights to preserve night vision while making adjustments.
By integrating precise timing, strategic location selection, and environmental awareness into your observation planning, you position yourself for consistent success in tracking and capturing planets. This proactive approach complements your knowledge of planetary motion and the technical tools you employ, creating a solid foundation for enriching your astronomical pursuits and astrophotography results.
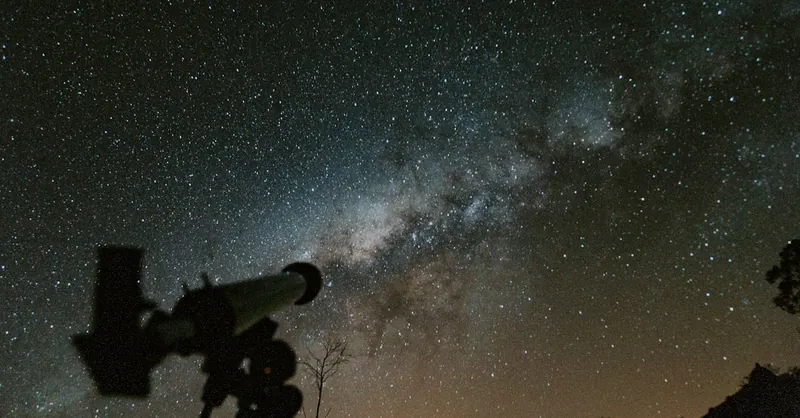
Image courtesy of Lucas Pezeta
Manual Tracking Techniques: Visual Identification and Using Constellations as Landmarks
While modern tools greatly simplify planet tracking, mastering manual tracking techniques is invaluable for deepening your astronomical skills and enjoying authentic night sky exploration. Visual identification of planets combined with using well-known constellations as reference landmarks allows you to locate and follow planetary movements without solely relying on technology. This approach builds intuition and enhances your situational awareness under the stars.
Visual Identification of Planets under the Night Sky
Planets are distinguishable from stars based on several key characteristics, making visual identification an effective first step in manual tracking:
- Brightness and Steadiness: Planets typically shine brighter than most stars and do not twinkle because they are closer and appear as tiny disks rather than points of light.
- Color Hues: Many planets exhibit subtle colors—Mars often glows with a reddish tint, Jupiter appears creamy white, Saturn has a yellowish hue, and Venus dazzles with a bright white glare.
- Position along the Ecliptic: Since planets orbit close to the plane of the solar system, they are almost always found near the ecliptic line, following the paths of familiar constellations like Taurus, Leo, or Sagittarius.
Developing the skill to visually distinguish planets helps you quickly identify targets, especially when combined with knowledge of their expected brightness and location for the night.
Using Constellations as Celestial Landmarks
Constellations function as natural signposts in the sky, guiding your eye to planets drifting through their boundaries. Incorporating constellations into your planet tracking routine offers the following advantages:
- Simplified Orientation: Recognizing major constellations near the ecliptic, such as Gemini, Virgo, or Capricornus, narrows your search area and anchors your observation.
- Tracking Planetary Motion: Observing a planet’s movement relative to fixed constellation stars night after night enables you to appreciate and anticipate its trajectory across the sky.
- Assisting Manual Telescope Pointing: When adjusting a non-computerized telescope or binoculars, using bright stars within constellations as aiming points ensures you remain on track toward the planet.
To effectively use constellations as reference points:
- Familiarize yourself with the primary constellations along the ecliptic using star charts or apps during daylight or clear nights.
- Note a planet’s position relative to constellation stars during each observation session.
- Draw mental or physical sketches to track planetary shifts against these constant stellar backdrops.
By combining visual cues with constellation landmarks, manual tracking becomes a reliable and rewarding technique to locate planets. This method enhances your observational skills, helps you internalize celestial patterns, and lends independence from electronic aids—essential attributes for any dedicated astronomer or astrophotographer striving for mastery in night sky exploration.
Image courtesy of Frank Cone
Automated Planet Tracking: Introduction to GoTo Mounts and Planetarium Software
As your passion for astronomy grows, automating planet tracking becomes a game-changer for both efficiency and precision in night sky observations. GoTo mounts, paired with advanced planetarium software, revolutionize the way you locate and follow planets by combining computerized control with accurate celestial data, making automated tracking accessible to amateurs and experts alike.
What Are GoTo Mounts?
GoTo mounts are motorized telescope mounts equipped with built-in computers that automatically align and point your telescope to celestial objects such as planets, stars, and deep-sky targets. Using a database of thousands of celestial coordinates, these mounts drastically reduce the time spent manually searching for planets and ensure steady tracking as Earth rotates.
Key benefits include:
- Automatic Object Location: Simply input the desired planet or celestial body, and the mount slews directly to its precise position.
- Continuous Tracking: The mount compensates for Earth's rotation, keeping the planet centered in your eyepiece or camera frame.
- Ease of Use: Ideal for beginners who want quick results and advanced observers who require long exposure astrophotography without image blur from manual adjustments.
The Role of Planetarium Software in Automated Tracking
Planetarium software complements GoTo mounts by serving as an intuitive user interface for sky navigation and observation planning. These programs simulate the night sky with incredible accuracy, providing updated ephemeris data for planets and making complex tracking feasible with just a few clicks.
Top features of planetarium software include:
- Real-Time Sky Simulation: Visualize planetary positions and movements for your specific time and location.
- Mount Control Integration: Many software platforms communicate directly with GoTo mounts, enabling seamless telescope control via computer or mobile device.
- Observation Planning: Schedule tracking sessions around key planetary events such as oppositions, conjunctions, and transits.
- Customization: Adjust settings for local horizon obstructions, viewing conditions, and equipment specifications to optimize tracking precision.
Enhancing Your Planet Tracking Workflow
To maximize the potential of automated planet tracking:
- Perform Accurate Polar Alignment: Precise orientation of the mount's polar axis is crucial for flawless tracking and minimizing drift.
- Update Firmware and Software Regularly: Ensures compatibility with the latest celestial catalogs and technological improvements.
- Calibrate Mounts with Known Stars: Calibration aligns the mount’s internal database with the actual night sky, improving pointing accuracy.
- Combine with Astrophotography Software: Synchronize tracking with camera control software for capturing detailed planetary images and time-lapse sequences.
Integrating GoTo mounts and planetarium software into your astronomy toolkit elevates your planet tracking capabilities to professional levels by automating complex calculations and mechanical adjustments. This synergy not only saves valuable observing time but also opens new possibilities for conducting sophisticated astrophotography projects and participating in coordinated planetary observation campaigns.
Image courtesy of Thirdman
Astrophotography Tips While Tracking Planets: Settings, Equipment, and Techniques
Successfully capturing stunning images of planets while tracking them requires a thoughtful combination of camera settings, specialized equipment, and precise techniques. Unlike deep-sky astrophotography, planetary imaging focuses on relatively bright, small targets that demand high magnification, short exposure times, and careful tracking to reveal surface details, rings, or atmospheric phenomena.
Essential Equipment for Planetary Astrophotography
To achieve clear, high-resolution planetary images, consider investing in or optimizing the following gear:
- Telescope with Long Focal Length: A telescope with a focal length of 1000mm or more (such as a Schmidt-Cassegrain or Maksutov-Cassegrain design) is ideal for magnifying planets.
- Equatorial or GoTo Mount with Tracking: Precision tracking mounts prevent the planet from drifting out of the camera frame during imaging, reducing blur and enhancing detail.
- Planetary Camera or DSLR with High Frame Rate: Dedicated planetary cameras or DSLRs capable of shooting video at high frame rates (30 fps or higher) allow you to capture multiple frames for stacking, improving image clarity.
- Barlow Lens: This accessory increases effective focal length, providing higher magnification to resolve finer planetary features.
- Filters: IR-cut, UV, or color filters can enhance contrast and reduce atmospheric distortion under different seeing conditions.
Optimizing Camera Settings and Capture Techniques
Planets are bright but small, requiring fine-tuned settings to avoid overexposure while maximizing sharpness:
- Use Short Exposure Times: Typically, exposures of 1–10 milliseconds are enough to prevent motion blur from atmospheric turbulence and tracking inaccuracies.
- High Frame Rate Video Capture: Recording videos rather than single long exposures enables frame stacking techniques that remove noise and improve detail.
- Manual Focus with Live View: Achieve critical focus by zooming in on a bright planetary feature and adjusting focus slowly to avoid softness in images.
- Adjust ISO Sensitivity: Use moderate to high ISO settings to capture fainter details without introducing excessive noise; experiment with ISO 800–3200 depending on your camera's performance.
- Use a Remote Shutter Release or Intervalometer: Minimizes vibrations caused by pressing the shutter button.
Post-Processing Techniques to Enhance Planetary Images
After capturing raw videos or images, stacking and processing significantly improve image quality:
- Frame Stacking Software: Use programs like RegiStax or AutoStakkert! to combine the sharpest frames, reducing noise and atmospheric distortion.
- Wavelet Sharpening: Apply wavelet filters to bring out fine surface details such as Jupiter’s cloud bands or Mars’s polar ice caps.
- Color Balancing and Contrast Adjustment: Enhance the natural colors of planets while maintaining realistic textures.
- De-rotation Tools: Specialized software can align and enhance features that rotate during long imaging sessions, especially useful for Jupiter and Saturn.
By mastering these astrophotography settings, equipment choices, and processing methods while employing precise planet tracking techniques, you elevate your planetary imaging to a professional level. This not only produces breathtaking visuals but deepens your connection to the dynamic celestial neighbors you observe.
Image courtesy of Tima Miroshnichenko
Space Engineering Insights: Building DIY Tracking Systems and Motor Drives
For astronomy enthusiasts eager to take planet tracking to the next level, building your own DIY tracking systems and motor drives offers a rewarding blend of space engineering and hands-on craftsmanship. These custom setups provide tailored solutions for continuous telescope motion compensation, allowing precise alignment with planetary orbits and Earth’s rotation without relying solely on commercial GoTo systems. Leveraging mechanical design, electronics, and programming, you can create affordable, modular tracking rigs suited to your specific telescope and observing goals.
Key Components of DIY Tracking Systems
Constructing an effective DIY planetary tracking system involves integrating several core engineering elements:
- Motor Drives: High-precision stepper or servo motors power the movement of telescope mounts, enabling fine control over axis rotation to match celestial motion.
- Control Electronics: Microcontrollers such as Arduino or Raspberry Pi serve as the brain of your system, executing tracking algorithms and coordinating motor actions through driver boards.
- Encoders and Sensors: Rotary encoders or optical sensors provide real-time feedback on mount positioning, improving tracking accuracy by detecting mechanical slippage or misalignment.
- Power Supply: Stable and sufficient power delivery is critical to maintain smooth motor performance during prolonged observation sessions.
- Firmware and Software: Custom or open-source tracking software implements celestial coordinate transformations and planetary motion models, ensuring your telescope remains locked onto moving targets.
Advantages of Building Your Own Tracking Solutions
Beyond cost-effectiveness, DIY tracking systems grant astronomers profound control over their setups, enabling:
- Customization: Tailor tracking speeds, acceleration curves, and interface options to match different telescope types (equatorial, altazimuth) and astrophotography needs.
- Modular Upgrades: Easily incorporate enhancements like WiFi connectivity, Bluetooth control, or additional sensors for weather and environmental monitoring.
- Learning and Innovation: Deepen your understanding of mechanical design, embedded programming, and planetary motion dynamics—skills transferable to broader space engineering projects.
Getting Started Tips for DIY Planet Tracking
- Begin with a Robust Mount Base: Ensure your existing telescope mount is mechanically stable to support the additional load of motors and electronics.
- Use Open-Source Resources: Engage with astronomy and maker communities offering plans, code libraries, and troubleshooting for DIY tracking systems.
- Test Incrementally: Validate motor operation, sensor feedback, and software commands individually before integrating the complete system.
- Incorporate Feedback Loops: Closed-loop control leveraging encoders significantly enhances tracking precision compared to open-loop motor actuation.
By harnessing space engineering principles in designing and building DIY tracking systems, you not only achieve highly accurate automated planet tracking but also join a vibrant community pushing the boundaries of amateur astronomy technology. This fusion of innovation and practical engineering empowers enthusiasts to customize their celestial tracking solutions, optimize astrophotography outcomes, and foster deeper engagement with the mechanics behind planetary motion observation.
Image courtesy of TheOther Kev
Common Challenges and Troubleshooting When Tracking Planets
Tracking planets in the night sky, while rewarding, comes with its share of common challenges that can frustrate both beginner and experienced astronomers. Understanding these issues and their solutions is crucial for maintaining consistent, accurate observations and high-quality astrophotography results.
Frequent Obstacles in Planetary Tracking
- Planetary Drift and Losing the Target: Due to the combined motion of Earth’s rotation and the planet’s orbital movement, planets can quickly drift out of the eyepiece or camera frame. This is especially problematic with manual mounts or improperly aligned equatorial mounts.
- Atmospheric Disturbances and Seeing Conditions: Turbulence in Earth’s atmosphere causes stars and planets to twinkle or blur, making fine details difficult to resolve and impairing tracking precision.
- Light Pollution and Obstructed Horizons: Urban skyglow, nearby buildings, trees, or uneven terrain can obscure planets near the horizon, where many planets are visible during dawn or dusk.
- Inaccurate Mount Alignment and Calibration Errors: Misaligned polar axes or incorrectly set setting circles result in tracking inaccuracies, causing the planet to be off-center or lost entirely during observation.
- App or Software Discrepancies: Outdated or improperly configured astronomy software can display incorrect planetary positions, leading to misguided searches and wasted observing time.
- Mechanical Issues and Mount Slippage: Wear and tear on mount gears, loose clamps, or backlash in motor drives can introduce jerks or lag in tracking motion, affecting smooth follow-through during imaging.
Effective Troubleshooting Strategies
- Regularly Perform and Verify Polar Alignment: Utilize polar scopes, drift alignment methods, or software-based alignment aids to ensure your mount is accurately aligned with Earth’s rotational axis.
- Update Ephemeris Data and Software: Keep your tracking software, mobile apps, and firmware current to access the latest planetary position data and improved algorithms.
- Use Low-Power Eyepieces for Initial Targeting: Begin with wider fields of view to keep the planet in sight during setup before switching to higher magnification.
- Optimize Environmental Settings: Choose nights with stable atmospheric conditions, avoid observing during turbulent weather, and use light pollution filters when necessary.
- Perform Routine Mechanical Maintenance: Regularly inspect and lubricate mount components, tighten all fittings, and calibrate motors and encoders to minimize mechanical error.
- Adopt Manual Nudging and Drift Correction Techniques: When using manual or partially automated mounts, develop skill in small, precise adjustments to keep planets centered.
- Cross-Verify Planet Positions Using Multiple Tools: Consult star charts, software simulations, and mobile apps collectively to confirm expected planetary coordinates before observation.
By proactively recognizing these common challenges and adopting systematic troubleshooting methods, you can significantly improve your success in tracking planets. This ensures clearer observations, sharper astrophotography results, and a more enjoyable night sky experience, whether you are using manual setups, advanced GoTo systems, or DIY tracking solutions.
Image courtesy of Francisco Ferreira